|
|
Post Reply 
|
| Author |
 Printable Version Printable Version Google Google Delicious Delicious Digg Digg StumbleUpon StumbleUpon Windows Live Windows Live Yahoo Bookmarks Yahoo Bookmarks reddit reddit Facebook Facebook MySpace MySpace Newsvine Newsvine Furl Furl Topic Search Topic Search  Topic Options Topic Options
|
sammycamper 
Senior Member 
Joined: 23 Oct 2012 Location: Minnesota Online Status: Offline Posts: 111 |
 Topic: Minor Mods Topic: Minor ModsPosted: 08 Aug 2013 at 11:21pm |
|
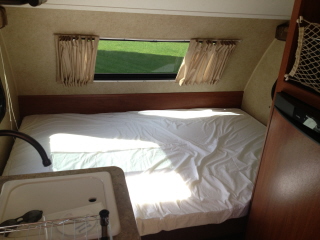
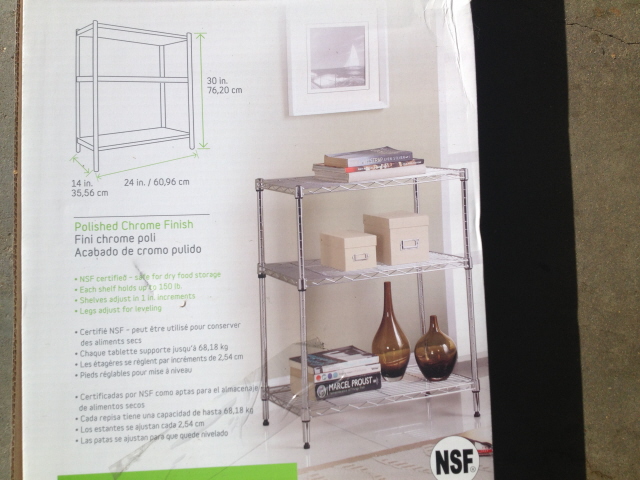
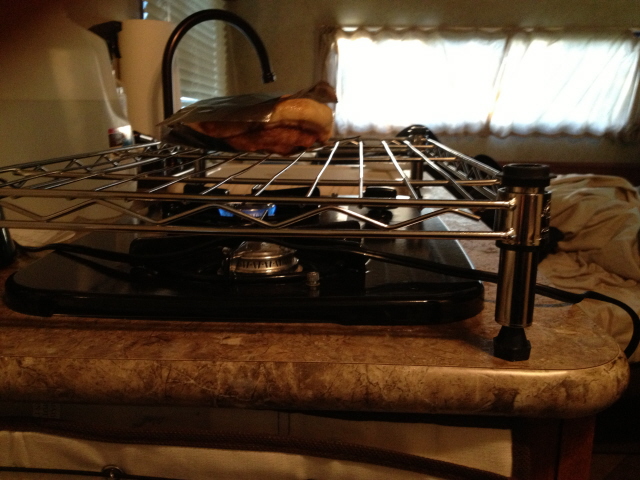
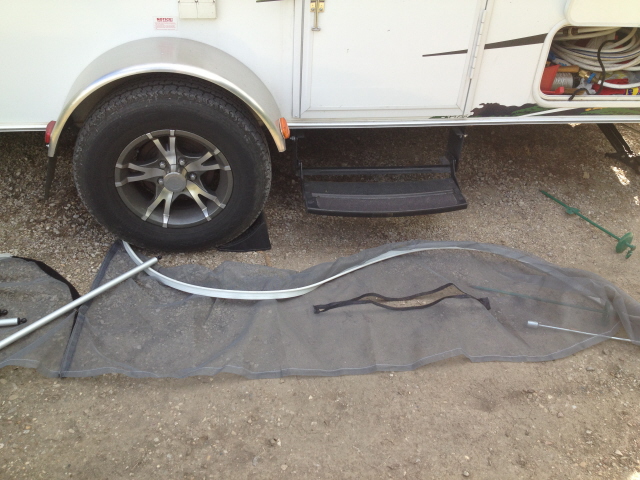
Here are a handful of minor modifications I’ve done to make life easier with our 173: - Added a 3” memory foam pad on the opened sofa, for a more comfortable semi-permanent full-size bed. - Cut the bottom shelf off a 3-shelf chrome bathroom shelving unit to serve as a work surface over our stove burners. I cut each of the four legs with a hack saw to about 4” long so that the wire shelf clears the burners by a little less than an inch. The wire work surface can just be tilted upward and out of the way against the wall to use both burners. If only one burner is needed, it can be positioned perpendicular to the wall to still provide a work surface over the other burner. It can also be used as a bread toaster, over low flame. - It turned out (pure luck) that the other 2 shelves fit perfectly in our space above the refrigerator. In fact, the fit is so perfect that I had to assemble those shelves within the space. They cannot come out of (or go into) the space fully assembled. - Chalk-marked the screen skirt of our r-dome for a cut-out at the step, and to cut it into 2 sections: one section for either side of the wheel well. Then I took it to a canvas shop to have them make the cuts and hem them, then add valcro strips at the end of each section so that they can be re-joined at the wheel. It makes installation of the skirt easier, and allows us to use the pull-out step with the screen in place. - Slid 3 large black plastic tubs (originally intended for mixing concrete, I think) under the sofa/bed for easier access and use of that large storage area. The two outside corners of the two outer tubs had to be trimmed to perfectly fit the space. I also hinged the end of a 2”x2”x10” board to the flap under the sofa to hold it up when accessing the tubs. - Added mud flaps. If there’s any interest, or need, I’ll try to take pictures to show what I’ve tried to describe. |
|
|
2012 rPod 173
2008 Trailblazer 4WD V6 |
|
 |
|
|
Zag
Groupie 

Joined: 29 Apr 2013 Location: Canada Online Status: Offline Posts: 57 |
Posted: 09 Aug 2013 at 12:08am |
|
Sounds like some interesting mods. I'm all about the visuals so any pictures you can take and upload is always appreciated.
I have an older model but still find I can learn from what others have done. |
|
|
2009 RP-152 (Cutie-Pod)
2001 Nissan Pathfinder |
|
|
|
|
sammycamper
Senior Member
Joined: 23 Oct 2012 Location: Minnesota Online Status: Offline Posts: 111 |
Posted: 05 Nov 2013 at 11:16pm |
|
Sorry for the 3-month delay; but here are some pictures to go with some of the modifications to our 173 that I described in my original post: - Added a 3” memory foam pad on the opened sofa, for a more comfortable semi-permanent full-size bed.
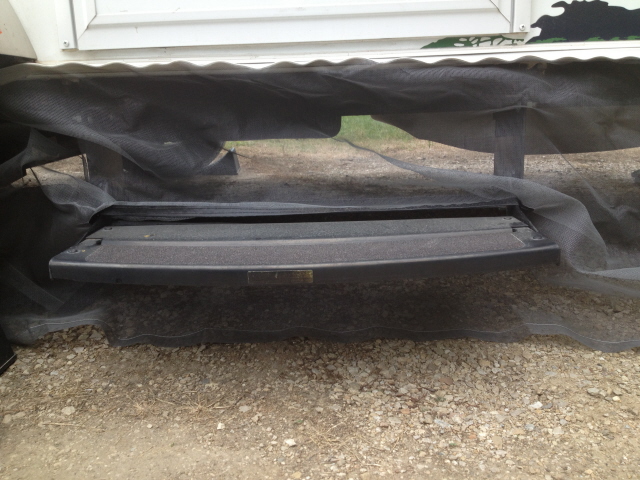
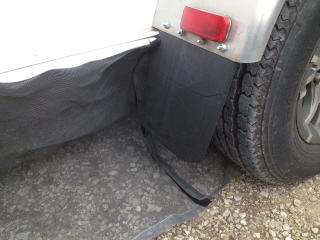
- Chalk-marked the screen skirt of our r-dome for a cut-out at the step, and to cut it into 2 sections: one section for either side of the wheel well. 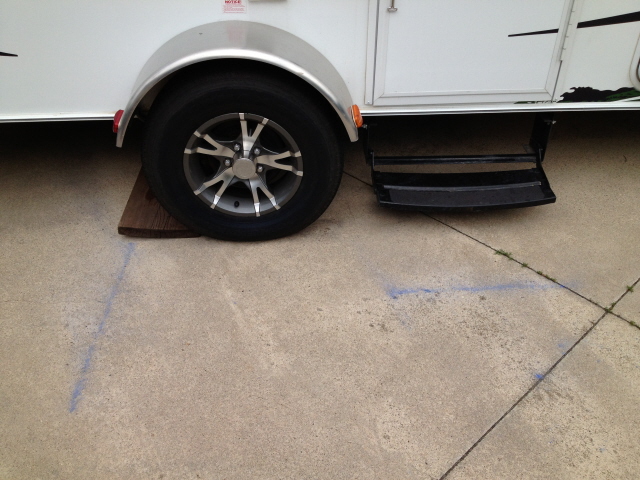
I hope that makes some of the descriptions a little clearer.
Sam
|
|
|
2012 rPod 173
2008 Trailblazer 4WD V6 |
|
|
|
|
techntrek
Admin Group - pHp 
Joined: 29 Jul 2009 Location: MD Online Status: Offline Posts: 9062 |
Posted: 06 Nov 2013 at 8:05am |
|
Nice alterations to the screening.
|
|
|
|
|
Post Reply
|
| Forum Jump | Forum Permissions You cannot post new topics in this forum You cannot reply to topics in this forum You cannot delete your posts in this forum You cannot edit your posts in this forum You cannot create polls in this forum You cannot vote in polls in this forum |


 Minor Mods