
|
List Your Mods: |
Post Reply 
|
Page <1 4243444546 77> |
| Author |
 Printable Version Printable Version Google Google Delicious Delicious Digg Digg StumbleUpon StumbleUpon Windows Live Windows Live Yahoo Bookmarks Yahoo Bookmarks reddit reddit Facebook Facebook MySpace MySpace Newsvine Newsvine Furl Furl Topic Search Topic Search  Topic Options Topic Options
|
Cap-n-Cray 
Senior Member 

Joined: 22 Feb 2014 Location: Bainbridge Is Online Status: Offline Posts: 121 |
 Post Options Post Options
 Quote Reply Quote Reply
 Topic: List Your Mods: Topic: List Your Mods:Posted: 27 Mar 2015 at 9:39pm |
|
14 gauge is 15 AMPS, 12 gauge is 20 AMPS...
|
|
|
Cary
2014 RP-177 |
|
 |
|
|
marspball
Newbie 
Joined: 15 Jul 2014 Online Status: Offline Posts: 20 |
Post Options
Quote Reply
Posted: 27 Mar 2015 at 9:23pm |
I was thinking about doing that. But I notice that the cable running to the back is only 14 gauge. will it be powerful enough to run the lights plus tv and charge phone? The tv is only about 3.5 amps, phone is 1-2amp and lights maybe another 1amp? If tapping the existing wire is safe, then that's a perfect solution for me.
|
|
|
|
|
marspball
Newbie
Joined: 15 Jul 2014 Online Status: Offline Posts: 20 |
Post Options
Quote Reply
Posted: 27 Mar 2015 at 9:20pm |
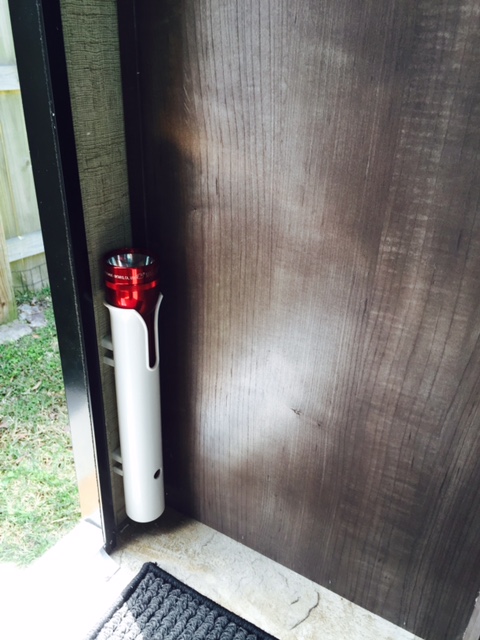
Oops, I guess that would be helpful. Lol The socket/USB plug can be purchased on ebay for $10. http://www.ebay.com/itm/Dual-USB-Car-Cigarette-Lighter-Socket-Splitter-12V-Charger-Power-Adapter-Outlet-/381005422890 I placed it right by the door which is above the electric panel so running the cable to the panel was pretty easy. The outlet itself has 2 screw on rings which you're supposed to use to mount it securely to the wall. However, there was no access from the back so I had to figure out another way. 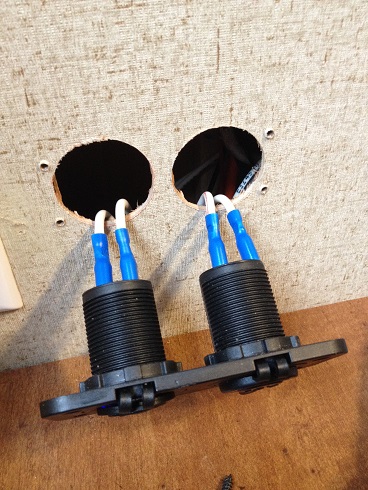 So I made two holes with a drill and hole saw that is big enough so that the retaining ring will fit and the plastic cover will sit flush with the wall. for wiring, I used 12 gauge wire which i know it is an overkill but the price diff of 12ga compared to 14ga wasn't that much. it doesn't show in the picture but inside the wall, the cable from the panel is split into two and then hooked up to the outlets. The kit already comes with the cable connectors. To hook it up to the electric panel, you do have to remove it which is pretty easy. Just two screws for the cover and another 4 screws for the panel and it slides forward. All the negative cables are connected to a bar on the bottom left of the panel (on the floor) and the positive cable gets hooked up to the 12v panel. I then used a 15amp fuse and everything works like a charm. I then positioned the cover of the outlet, drilled pilot holes for the screws and voila. From start to finish, the whole installation only took about 30 min. I hope this helps.  |
|
|
|
|
techntrek
Admin Group - pHp 
Joined: 29 Jul 2009 Location: MD Online Status: Offline Posts: 9059 |
Post Options
Quote Reply
Posted: 27 Mar 2015 at 4:41pm |
|
marspball, you may be able to find a 12 volt line run for lighting that you can tap, instead of running a new one.
|
|
|
|
|
fionasol
Newbie

Joined: 15 Oct 2014 Location: United States Online Status: Offline Posts: 13 |
Post Options
Quote Reply
Posted: 27 Mar 2015 at 1:24pm |
|
Marspball,
Would you mind sharing the details of install?
|
|
|
|
|
marspball
Newbie
Joined: 15 Jul 2014 Online Status: Offline Posts: 20 |
Post Options
Quote Reply
Posted: 27 Mar 2015 at 1:01pm |
|
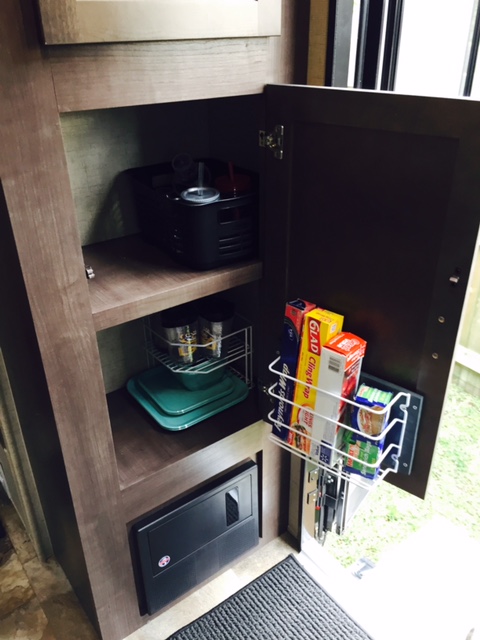
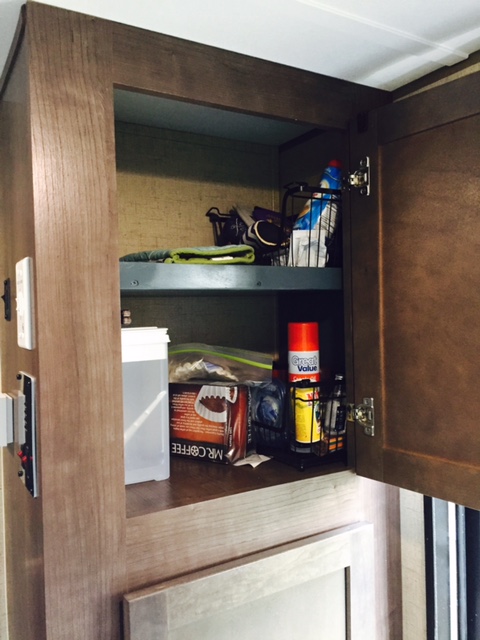
My first mod on my 182G...
I installed this 12v socket / USB combo so I can use a 12v TV and charge my USB devices when dry camping. I want to install another one in the garage but pulling the cable from the garage to the panel seems to be a daunting task. 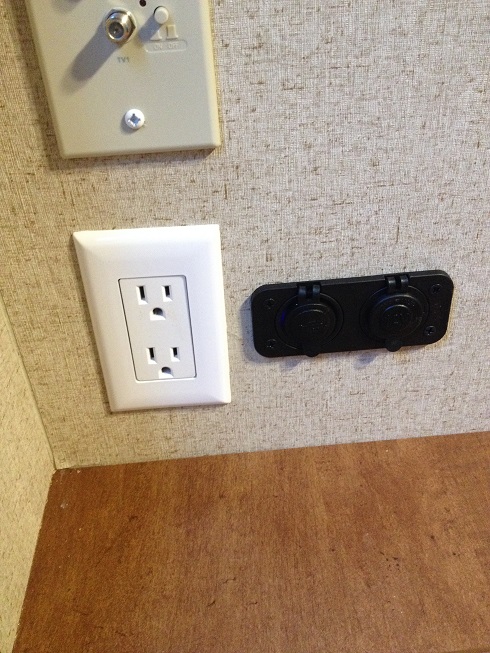 |
|
|
|
|
apache
Newbie
Joined: 14 Mar 2015 Online Status: Offline Posts: 4 |
Post Options
Quote Reply
Posted: 17 Mar 2015 at 1:16am |
|
|
|
|
|
LePodders
Groupie 

Joined: 20 Nov 2013 Location: Louisiana Online Status: Offline Posts: 80 |
Post Options
Quote Reply
Posted: 16 Mar 2015 at 5:13pm |
|
|
|
Keenan, Kathryn, Millie, Rio & Cali (2015 r pod 179)
Poddy by Nature |
|
|
|
|
LePodders
Groupie
Joined: 20 Nov 2013 Location: Louisiana Online Status: Offline Posts: 80 |
Post Options
Quote Reply
Posted: 16 Mar 2015 at 5:09pm |
|
|
|
Keenan, Kathryn, Millie, Rio & Cali (2015 r pod 179)
Poddy by Nature |
|
|
|
|
LePodders
Groupie
Joined: 20 Nov 2013 Location: Louisiana Online Status: Offline Posts: 80 |
Post Options
Quote Reply
Posted: 16 Mar 2015 at 3:12pm |
|
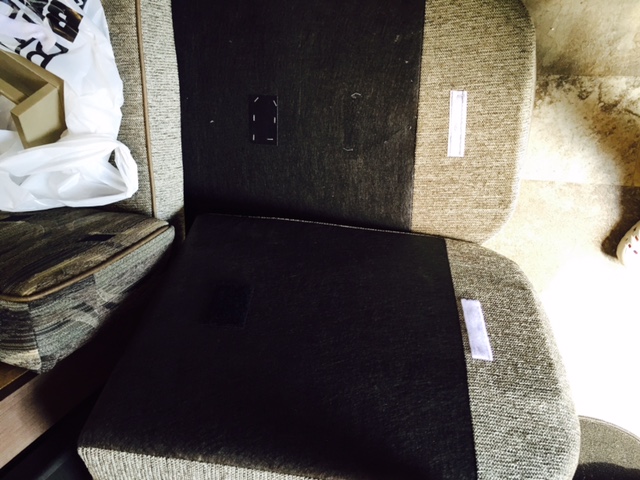
securing cushions on 179 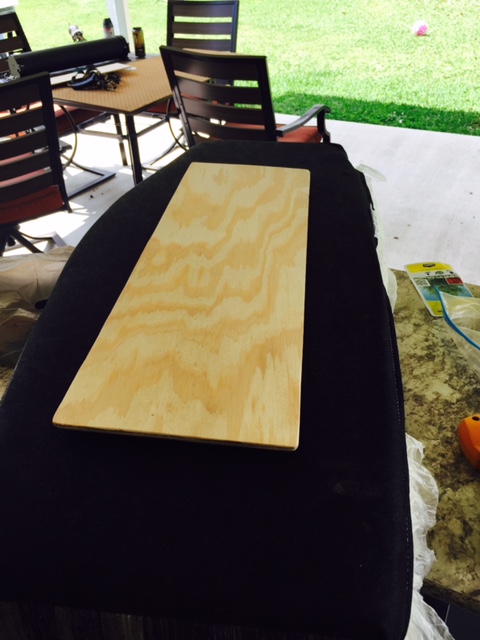 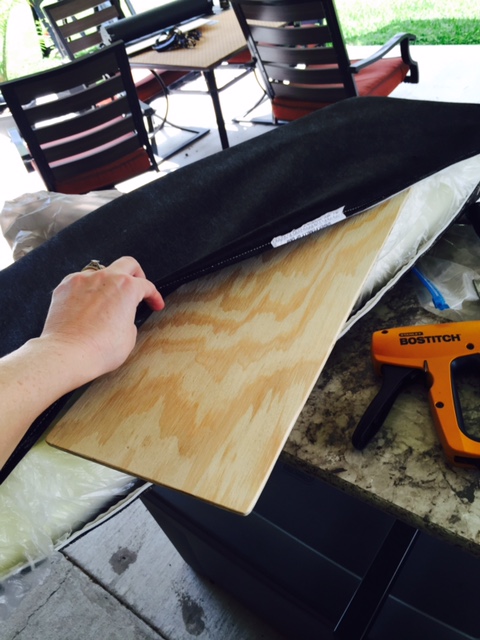 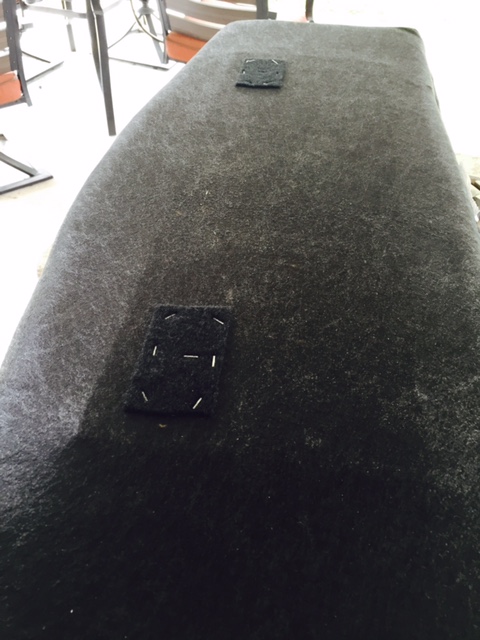 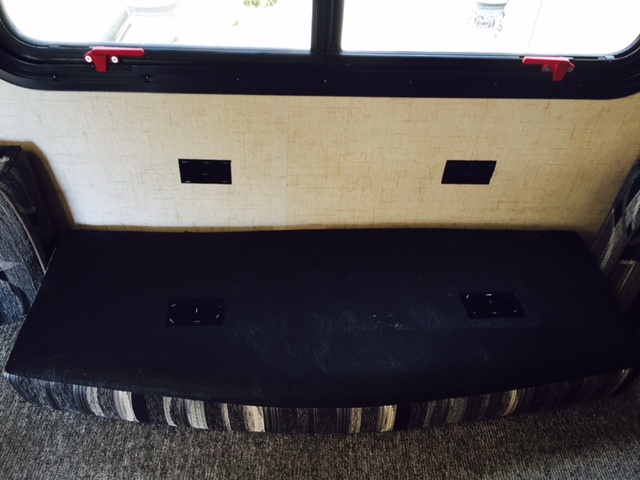 |
|
|
Keenan, Kathryn, Millie, Rio & Cali (2015 r pod 179)
Poddy by Nature |
|
|
|
|
Post Reply
|
Page <1 4243444546 77> |
| Forum Jump | Forum Permissions You cannot post new topics in this forum You cannot reply to topics in this forum You cannot delete your posts in this forum You cannot edit your posts in this forum You cannot create polls in this forum You cannot vote in polls in this forum |


