
|
|
Post Reply 
|
Page 12> |
| Author |
 Printable Version Printable Version Google Google Delicious Delicious Digg Digg StumbleUpon StumbleUpon Windows Live Windows Live Yahoo Bookmarks Yahoo Bookmarks reddit reddit Facebook Facebook MySpace MySpace Newsvine Newsvine Furl Furl Topic Search Topic Search  Topic Options Topic Options
|
ThePinoyPodders 
Newbie 
Joined: 30 Apr 2013 Location: Ontario, Canada Online Status: Offline Posts: 13 |
 Topic: Back Up Camera Mod (That won't drain Pod battery!) Topic: Back Up Camera Mod (That won't drain Pod battery!)Posted: 01 Jul 2013 at 7:05pm |
|
*Please be aware this mod was completed on a 2010 172 R Pod. Wiring and configuration may vary on other years &/or models. Please do your own research before attempting and be sure to have some electrical knowledge.
Camera info: Yada Digital Wireless Backup Camera Model # BT53328F-1 (4.3inch display) One of our first modifications for our 172 was installing a back up camera on the back of the Pod. It's a bit of a lengthy install (took us appx. 6hrs including a lunch break), but is well worth it in our opinion!
First things first, remove the license plate: 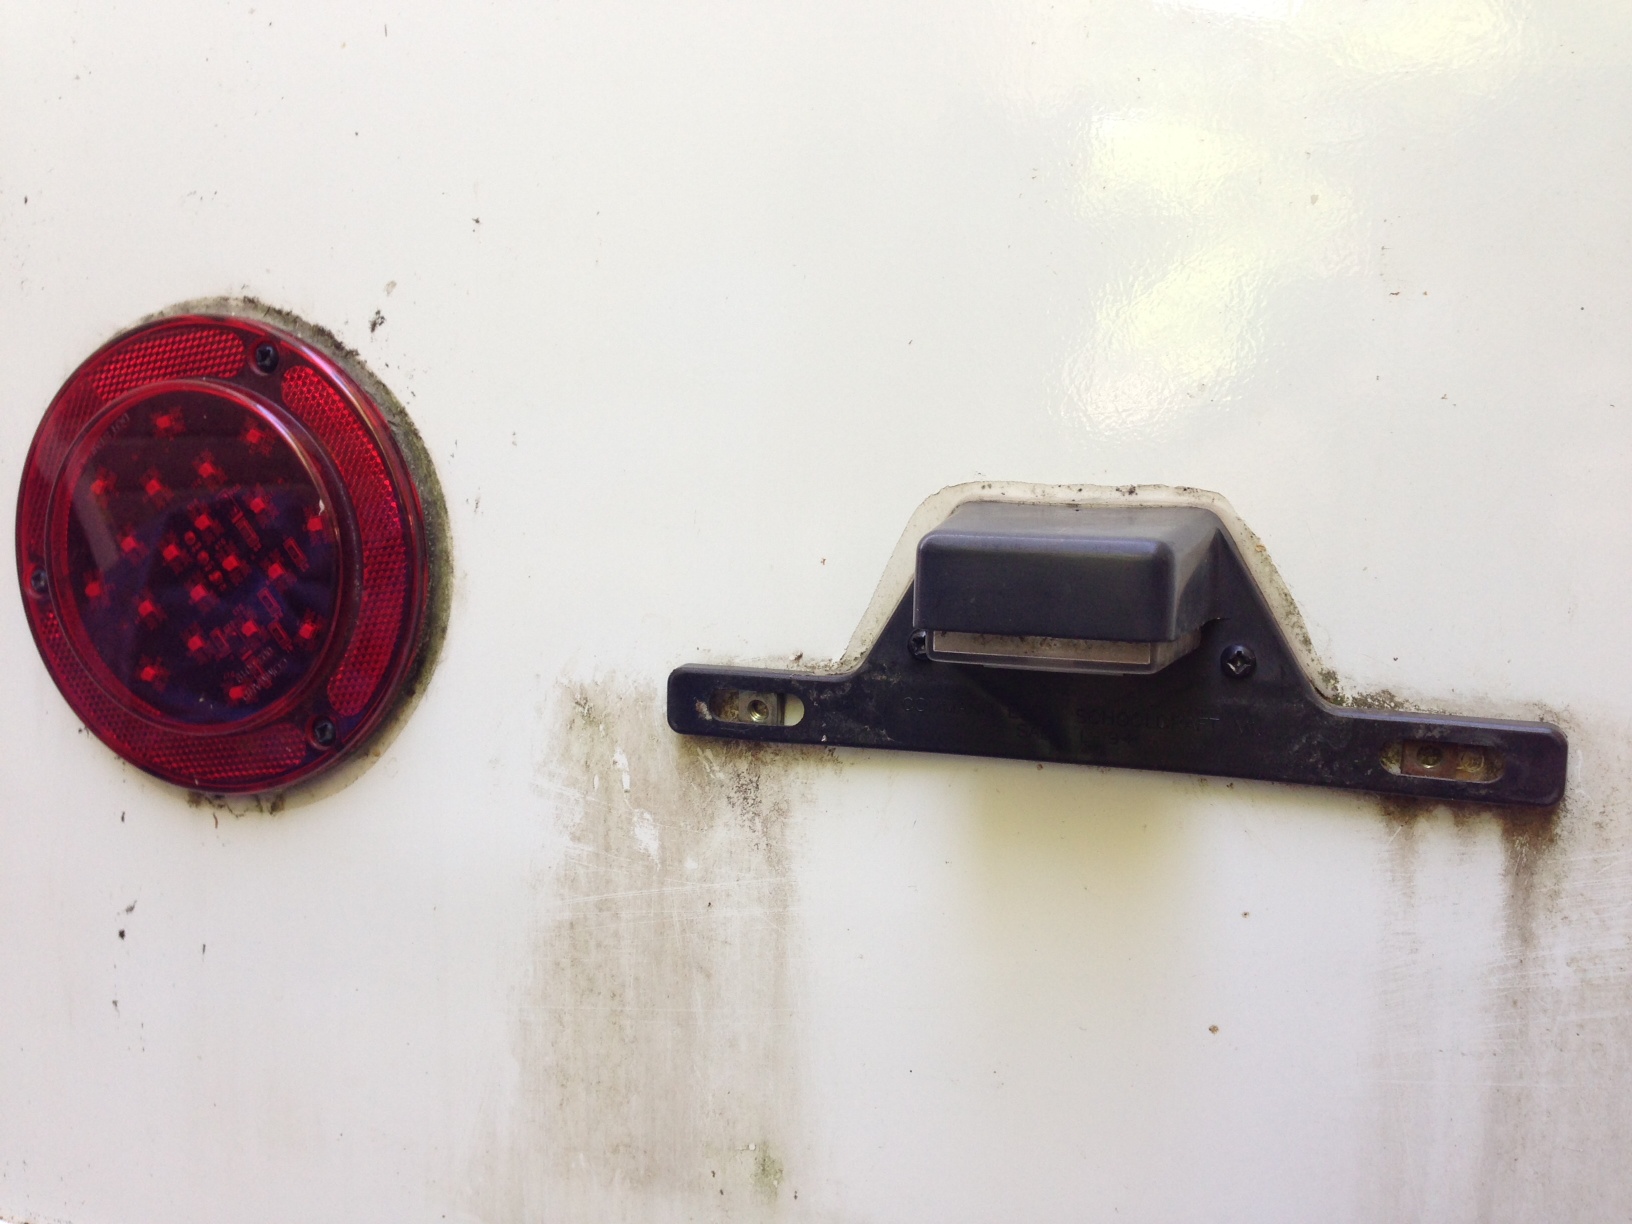 Remove the license plate holder/light fixture assembly: 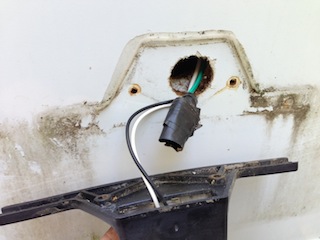 We then fed the camera cable through the space under the light fixture itself: 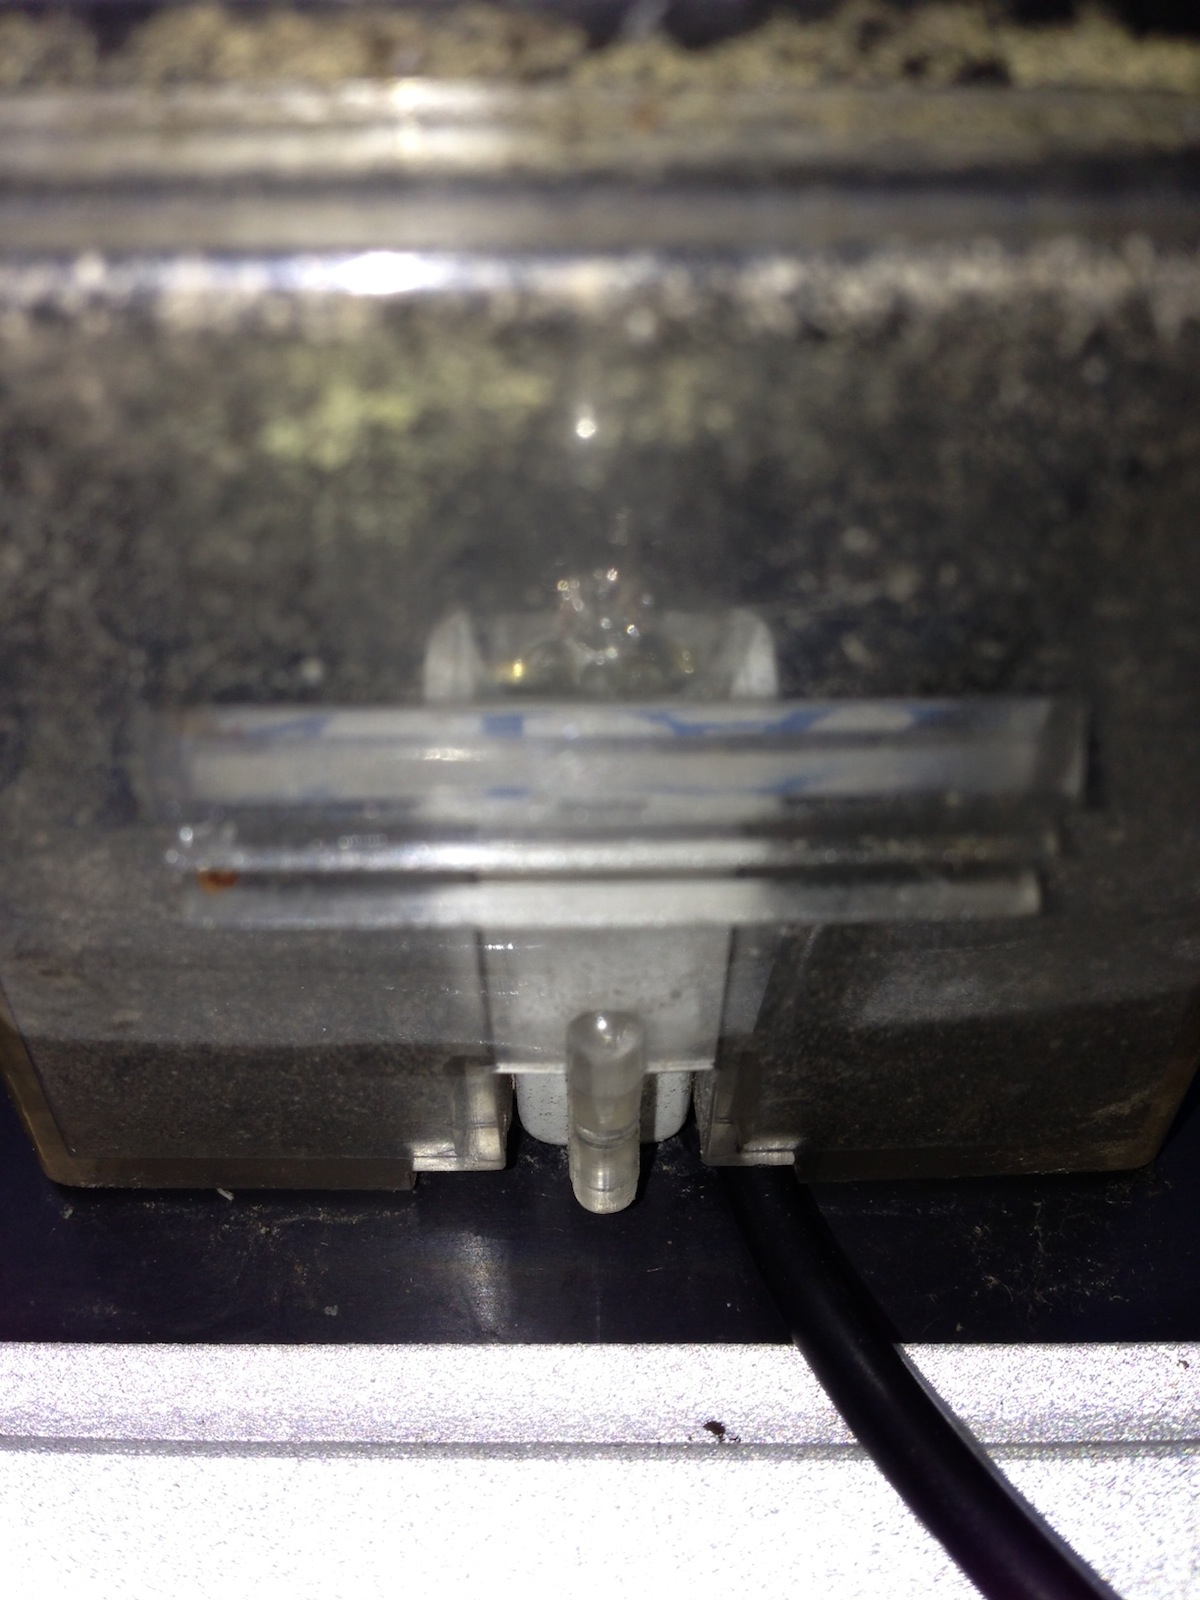 And then into the hole that sits behind the light fixture: 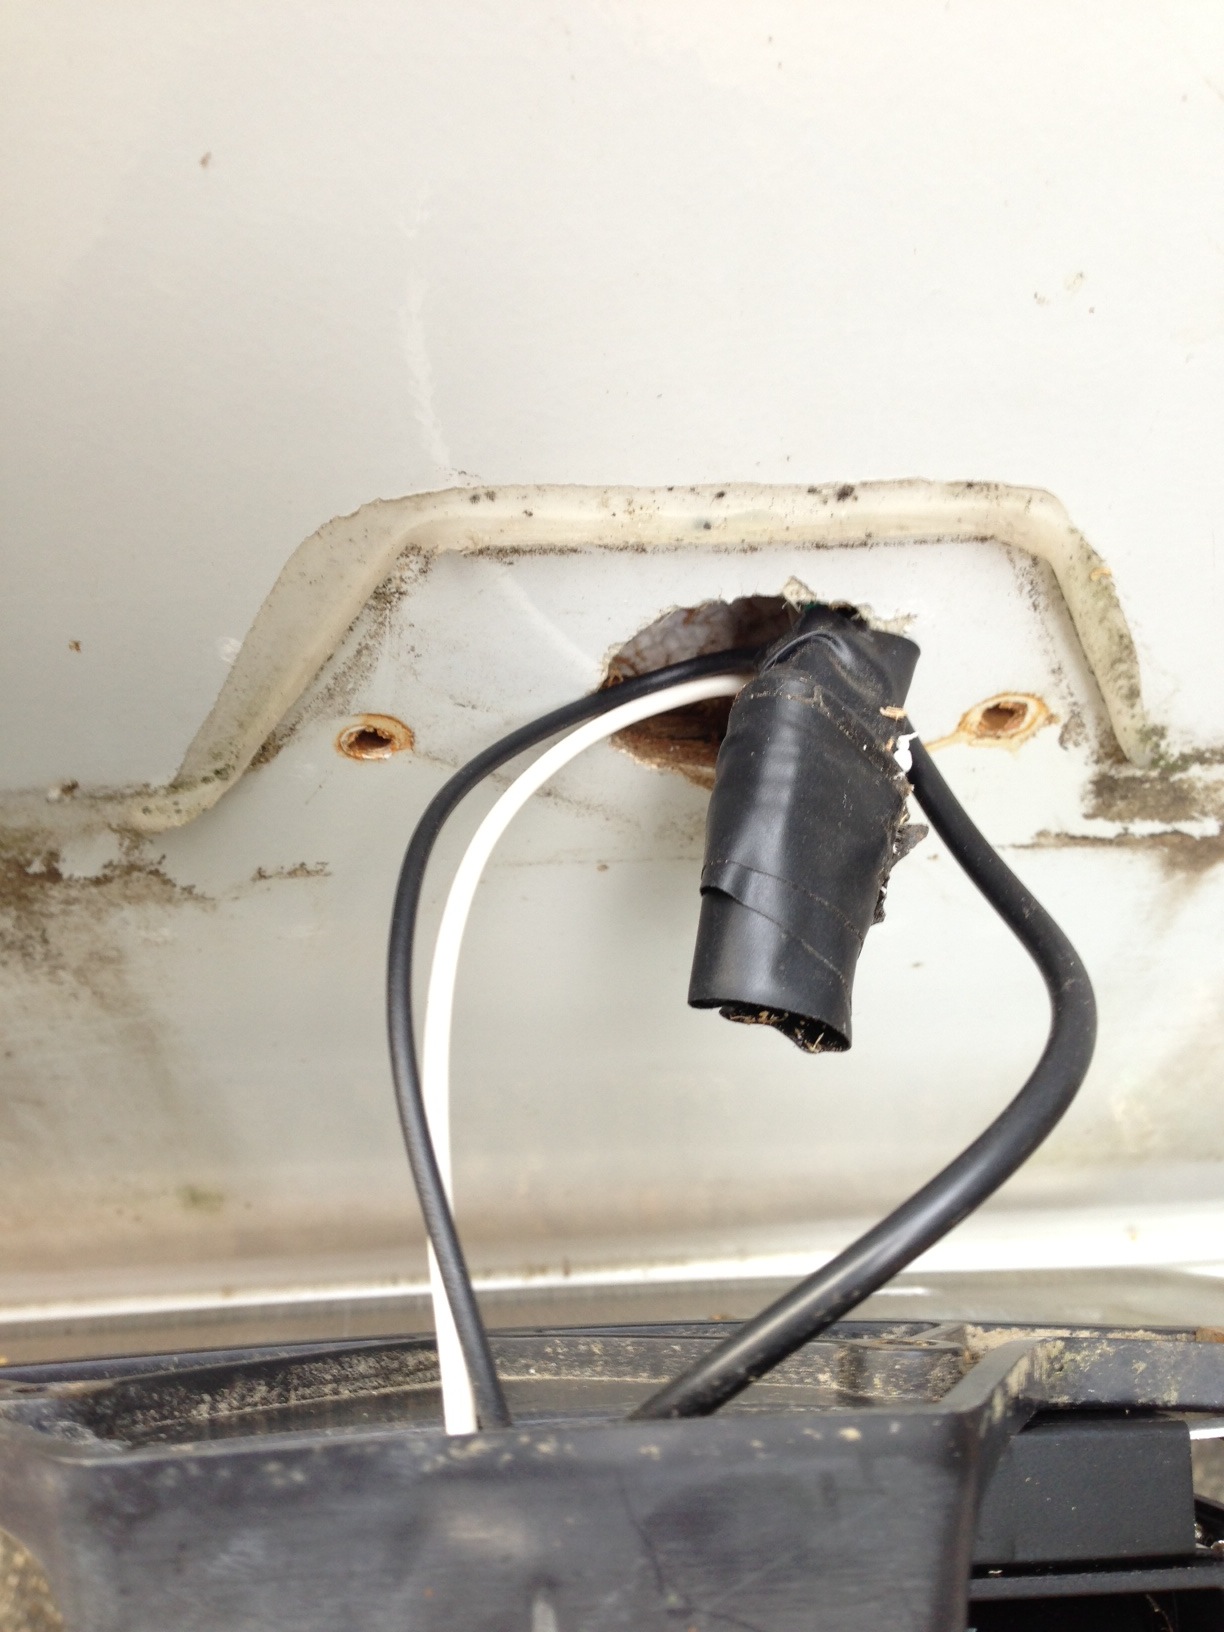 Feed the rest of the cable into the hole and place the camera on the license plate. Then replace the fixture:  The cable is now resting between the wood veneer and the inside of the shell, inside our pull through compartment. Remove a few staples holding the veneer wall and pull the wall away exposing the wiring in the back. *optional step: We wired the camera to a 9 volt battery to test the position of the camera before securing it fully. Our next step was to run a 14 gauge wire that will carry power to the camera. In the photo below you'll see a connector (that has a blue cover which was removed for the photo) - when the cover is removed you'll see two blade prongs inside which connects the wires together. It is also filled with some sort of clear grease. Notice in the picture the yellow wire is the wire we will connect to. This wire is the unused center pin on the 7 way plug. Whether or not your pod is the same, I'm not sure? 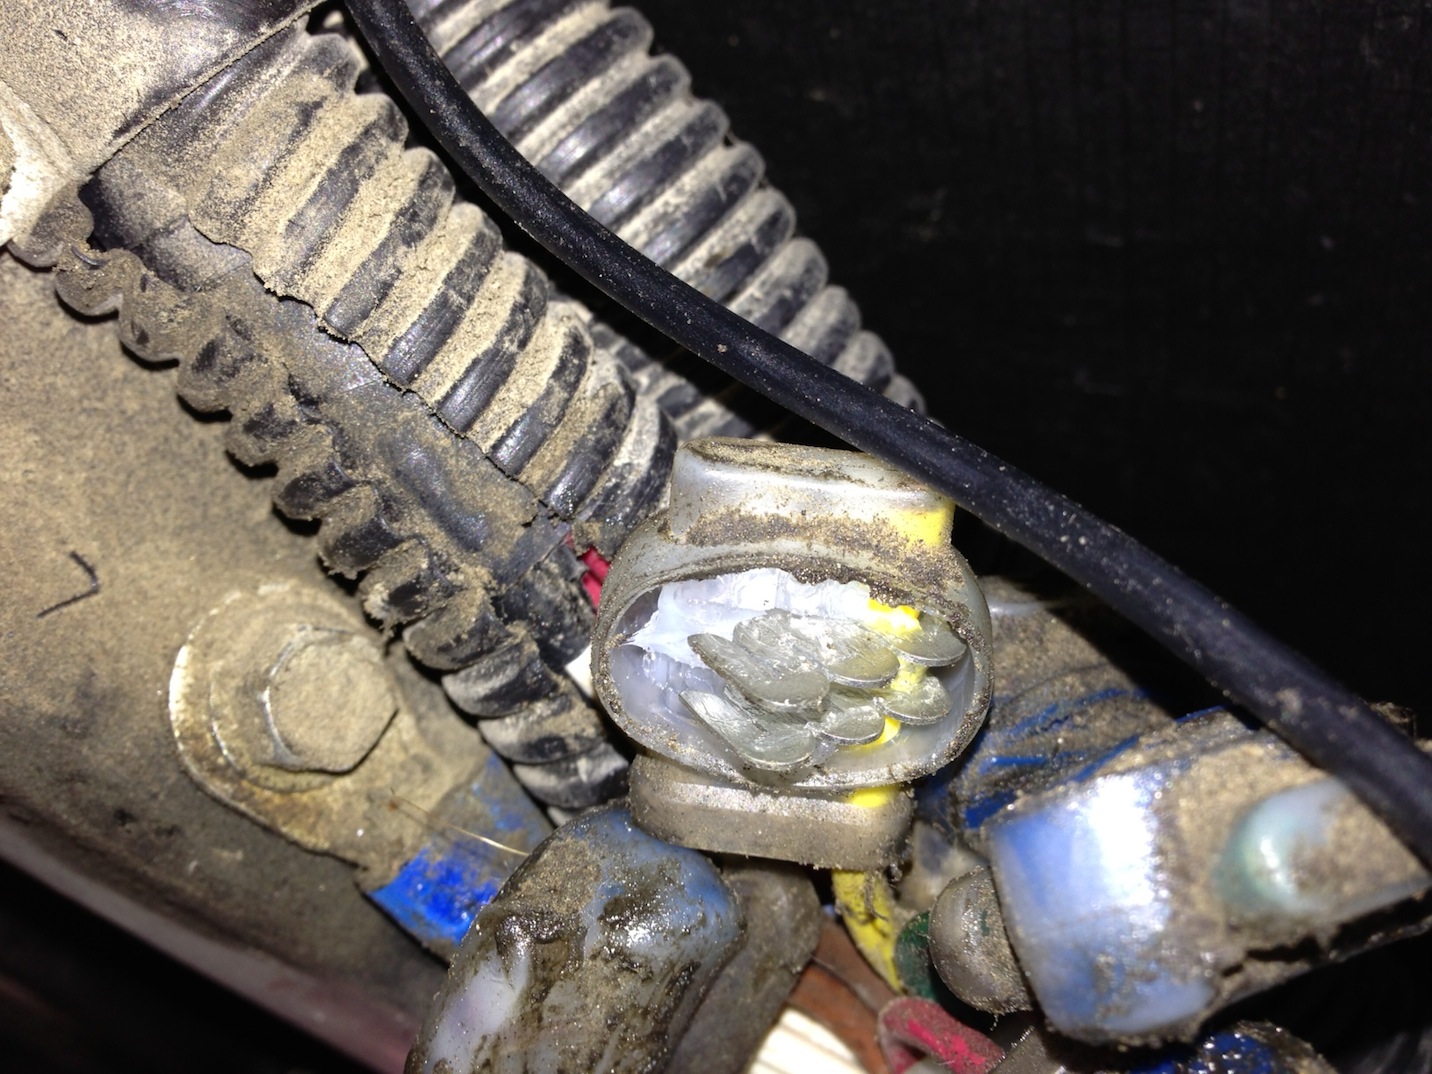 Now take the 14 gauge wire and connect it to the yellow connection. I removed the terminating blades and preset them into the blue cover before inserting back into the connector. Make sure the wire is inserted all the way to the back of the connector before inserting the blue cover. Please use pliers to ensure a solid connection. The 14 gauge wire now has to run almost the length of the trailer to a sealed port located beneath the trailer near the water heater. We ran the cable inside the existing plastic jacket that covers all the current wires for added protection - was quite a job trying to get it into the jacket and beneath the zip ties, but it was possible and looks very clean! In the photo below you can see the two ports located near the water heater. I suggest choosing the port closest to the back of the trailer, as this port contains all of the automotive related wiring (ie/ taillights, etc.) Better to keep the wiring all together imo. 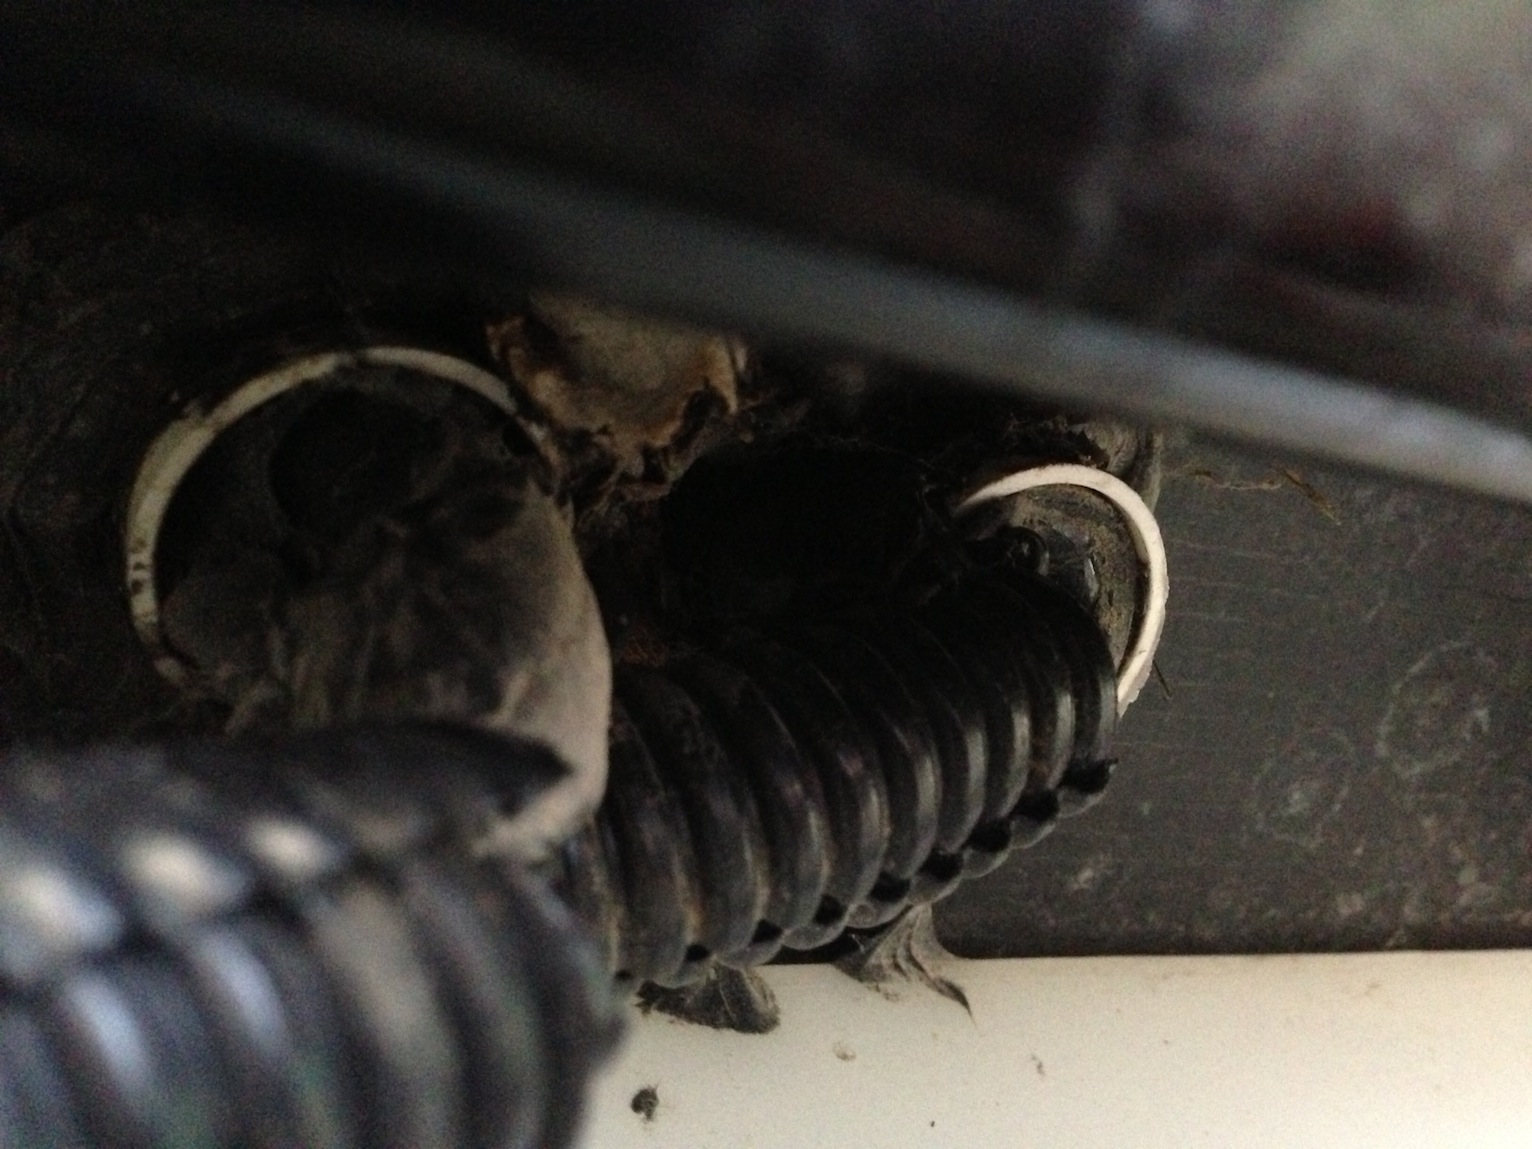 The wire is fed up this port and enters the water heater compartment inside the trailer (under our L shaped dinette in the 172). This portion was easiest with two people. My wife inside the trailer and myself under - feeding the 14 gauge wire through the port with help from a wire puller. Be warned - the rubber material is very tight fitting and it's quite the struggle to get the wire through. You could add additional silicone once wire is in place, but I didn't feel it was necessary due to the strength/squeeze of the original rubber material. The black wire in the photo is our 14 gauge wire. Be sure to pull the wire into the trailer until all the slack is gone. 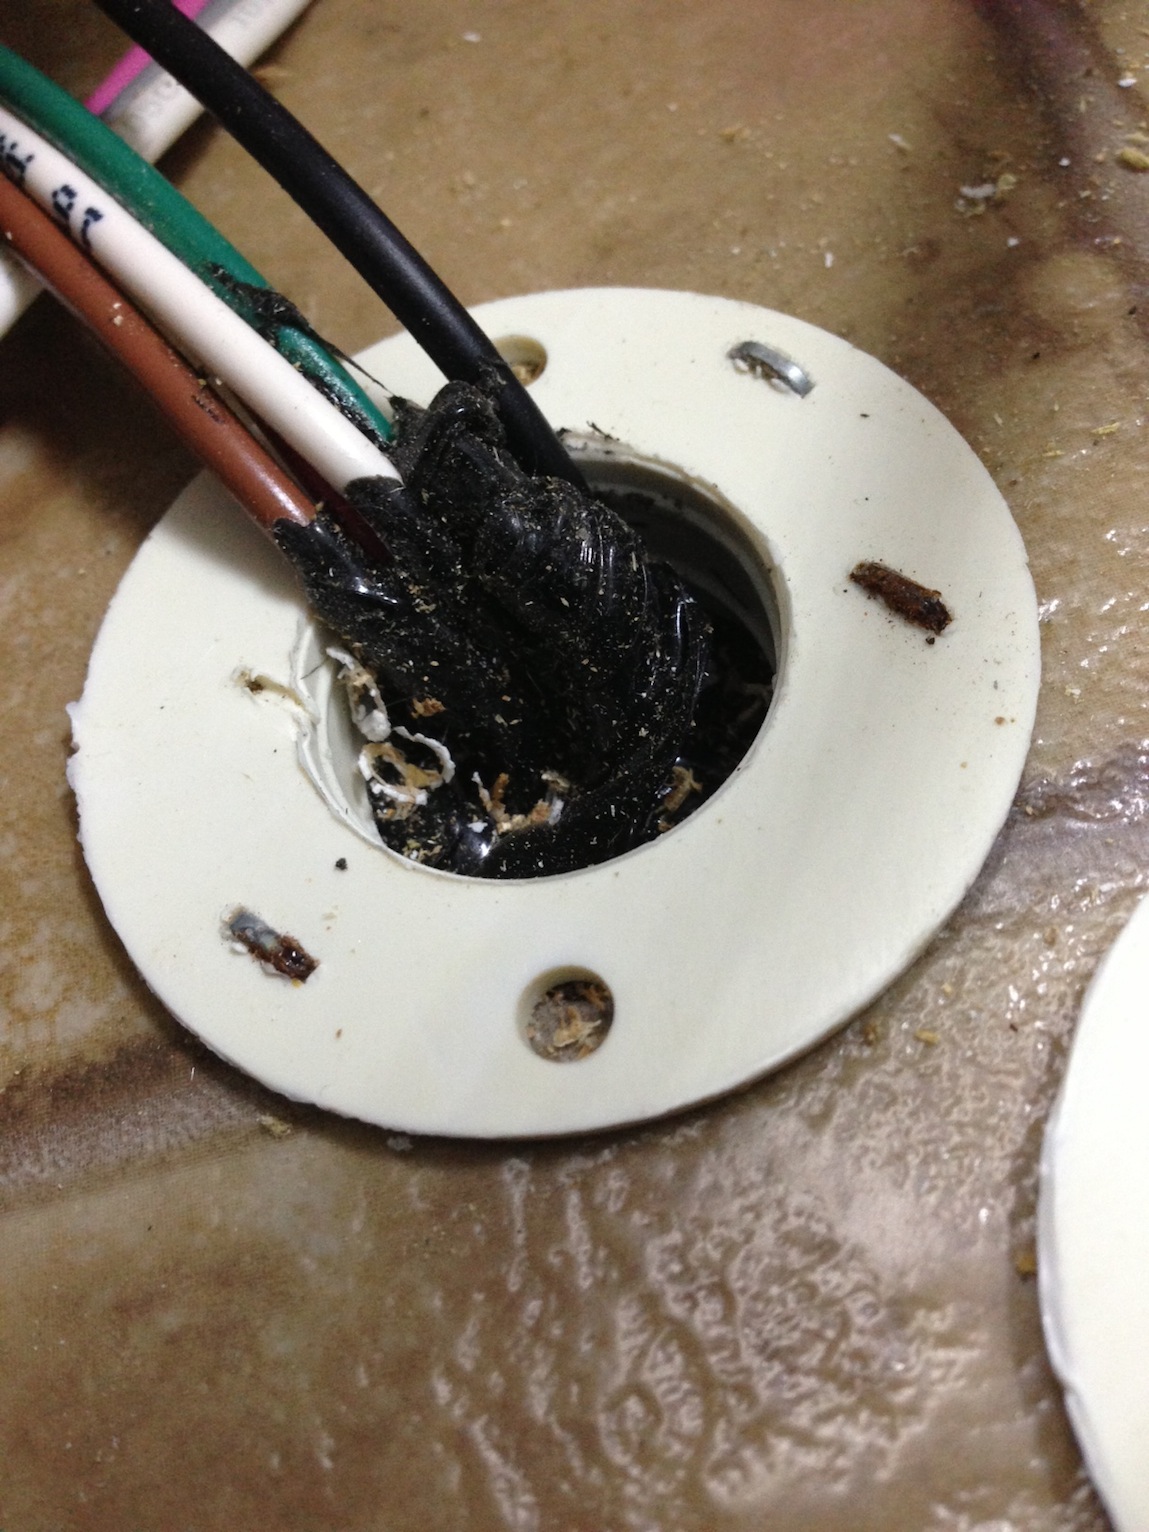 We now tested for continuity between the center pin on the plug and the wire we just ran to assure our connection is good. (if you have any questions about this step, just ask) We then pulled the wire into the pull through compartment. 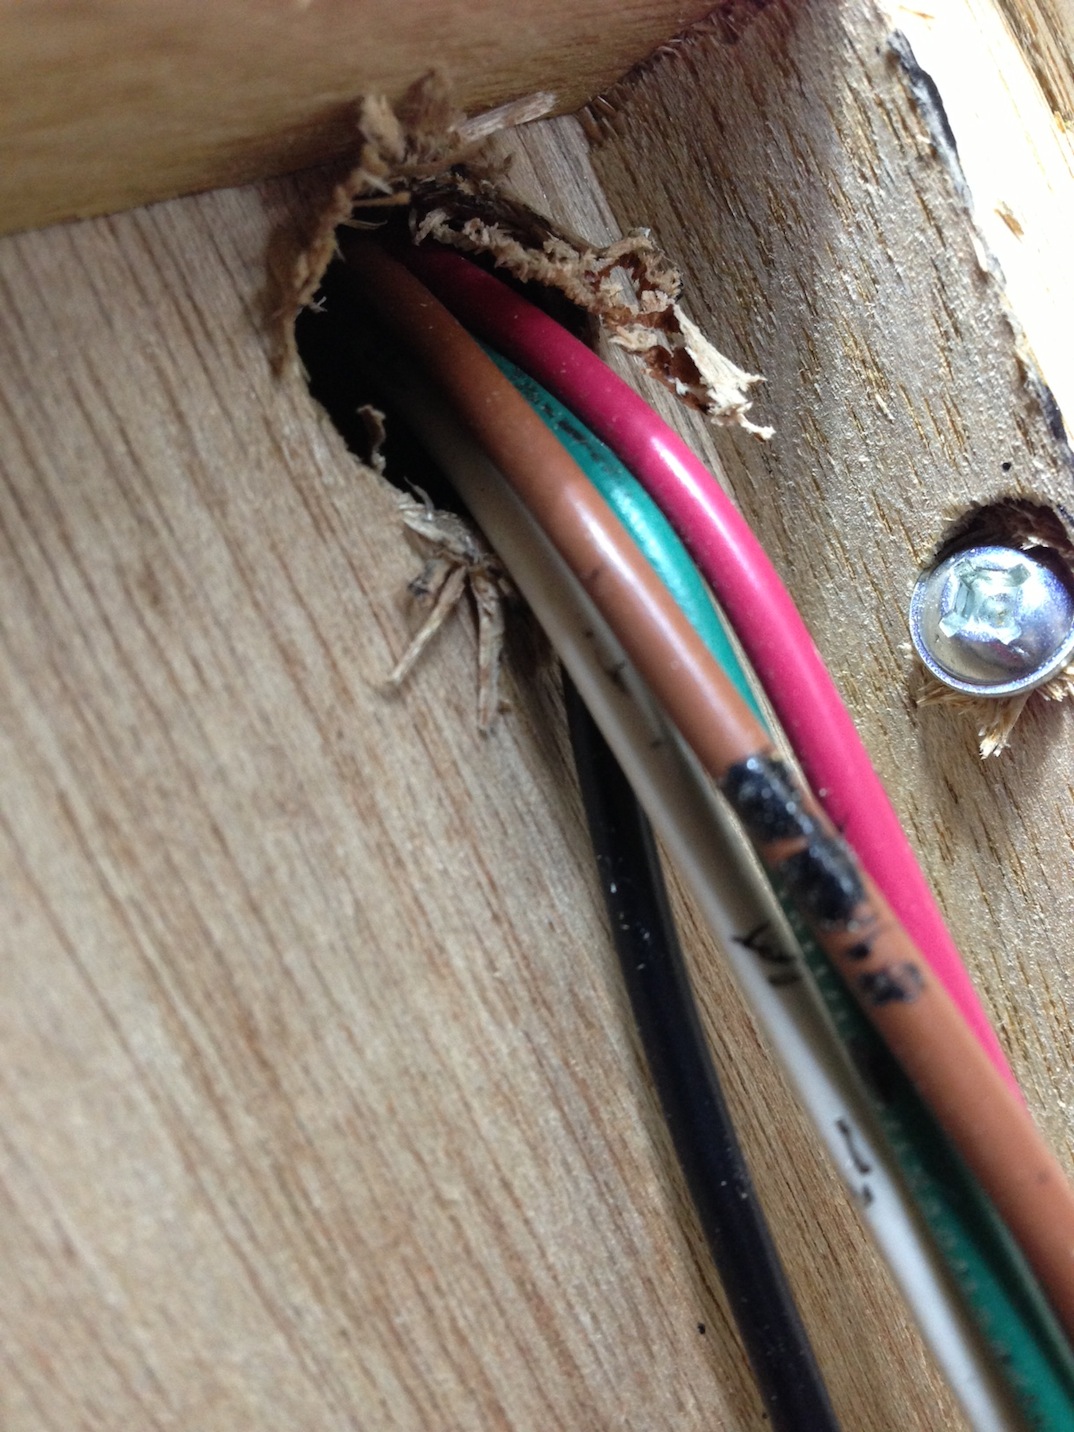 View from inside pull through compartment: 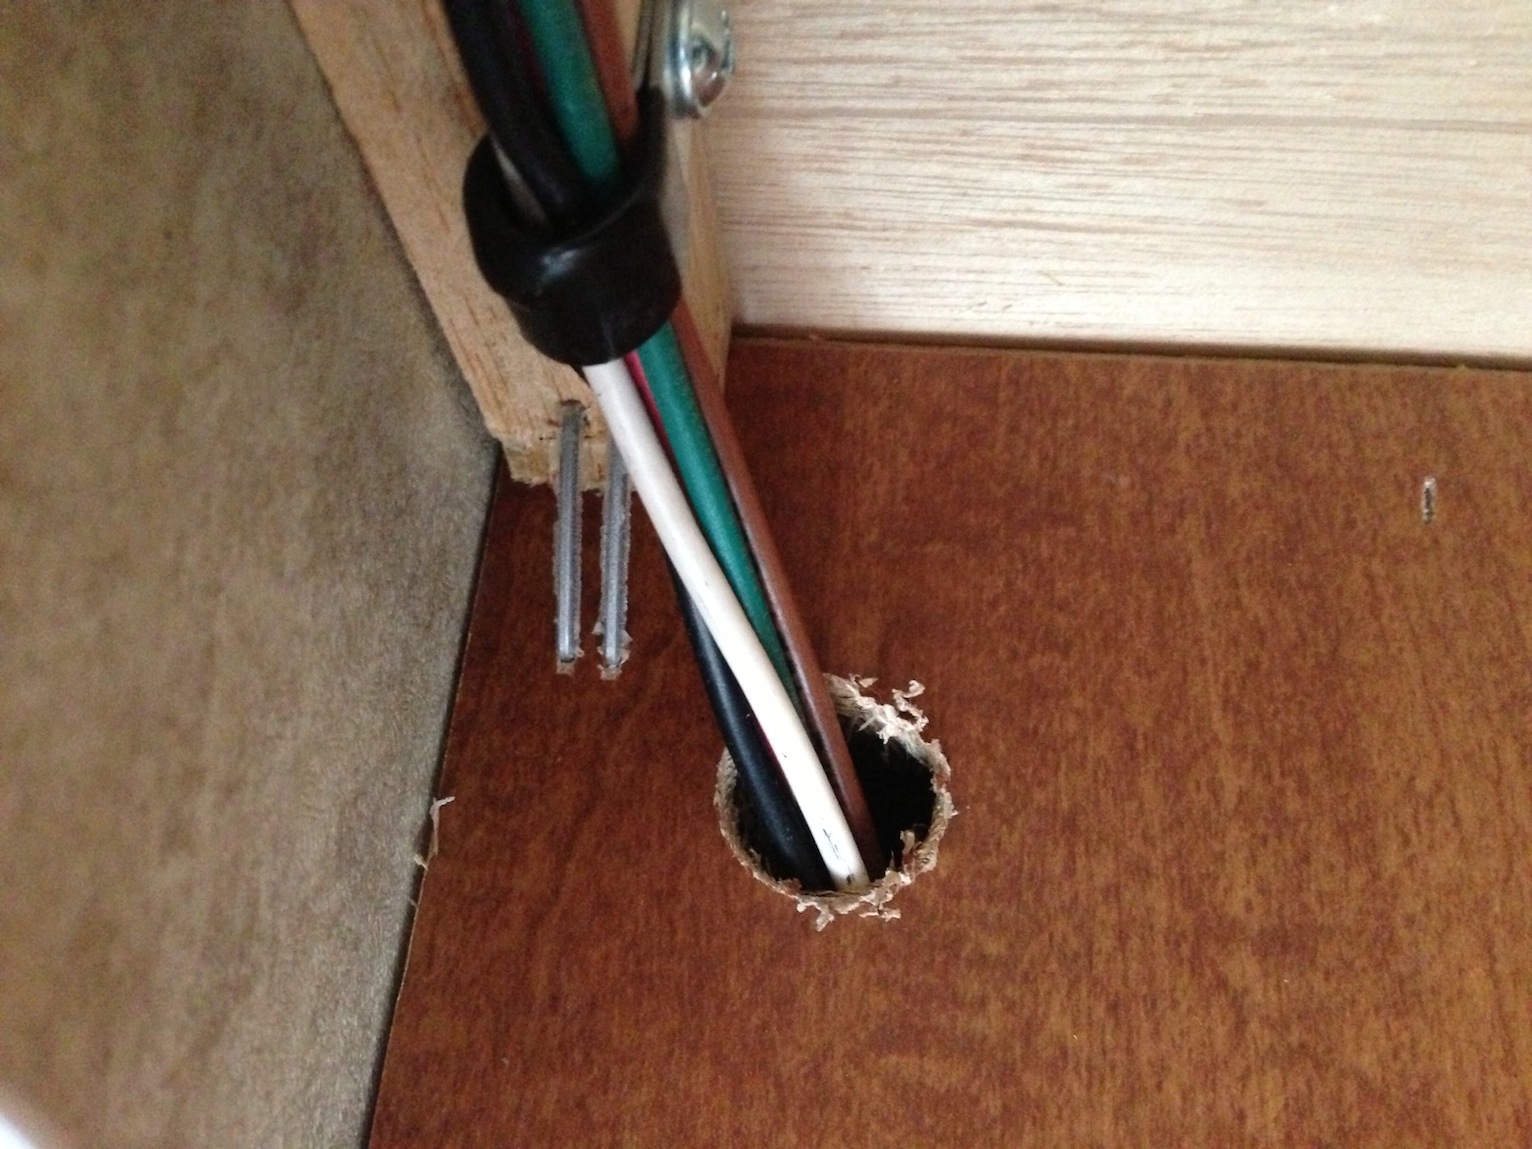 and then fed behind the wood veneer to meet up with the camera wiring. 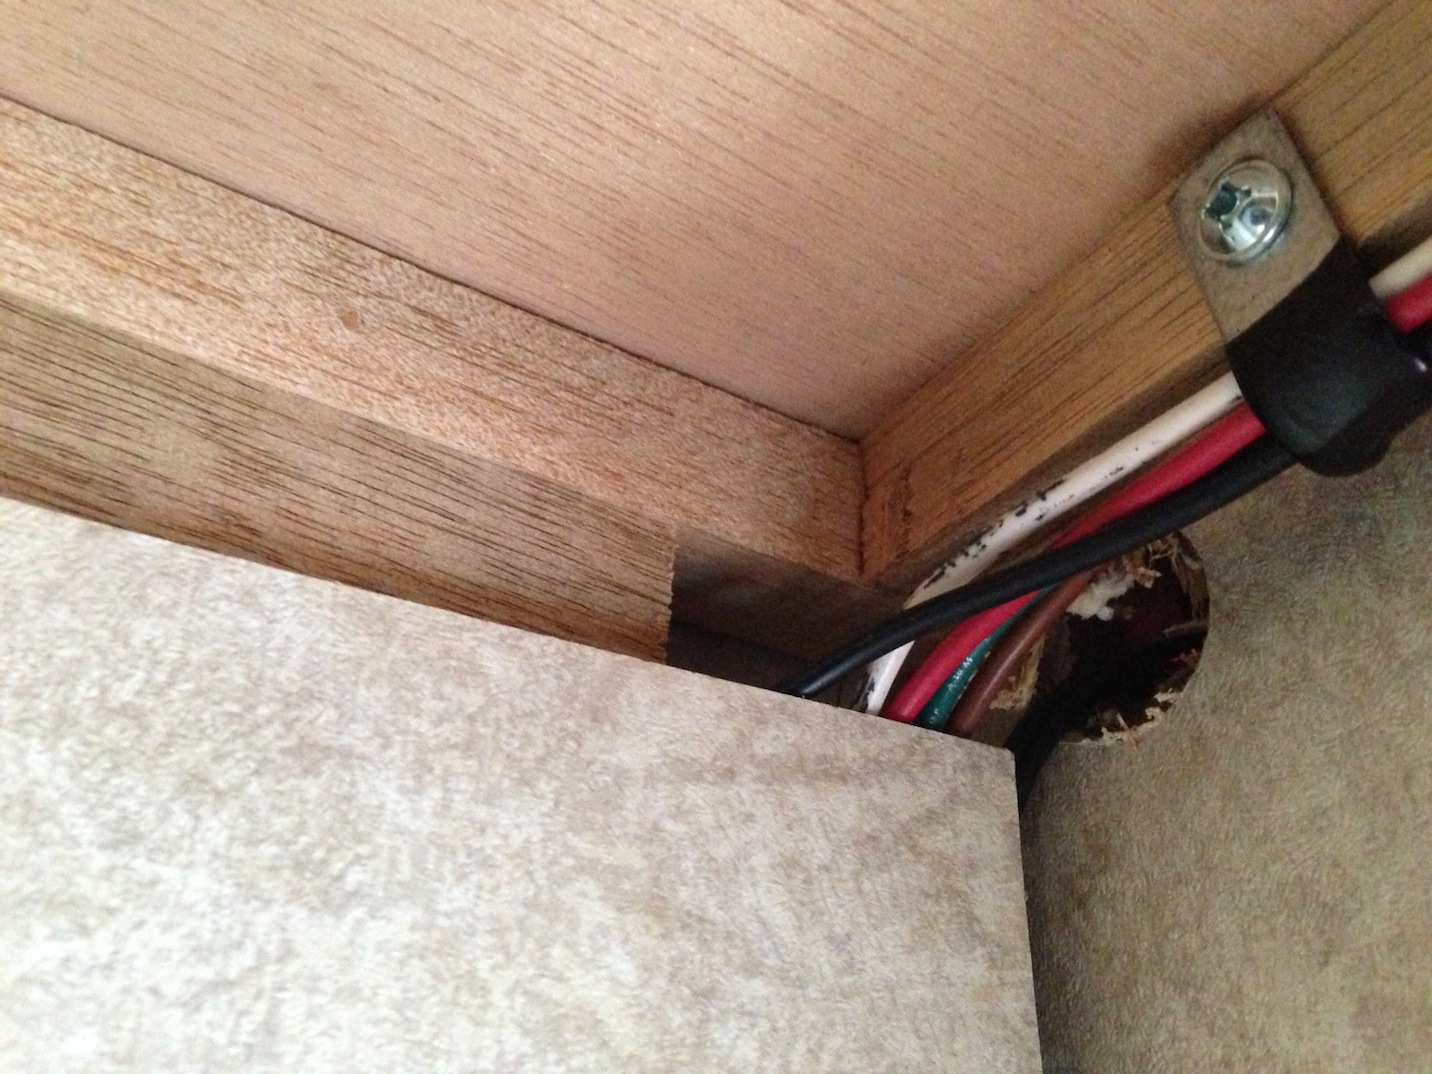 Camera wire is noted with red arrow. Connect the positive lead from the camera to the 14 gauge wire using a marette (see yellow arrow) Connect the negative lead from the camera to negative bundle (see blue arrow). We then tied all loose cables and replaced the wood veneer. 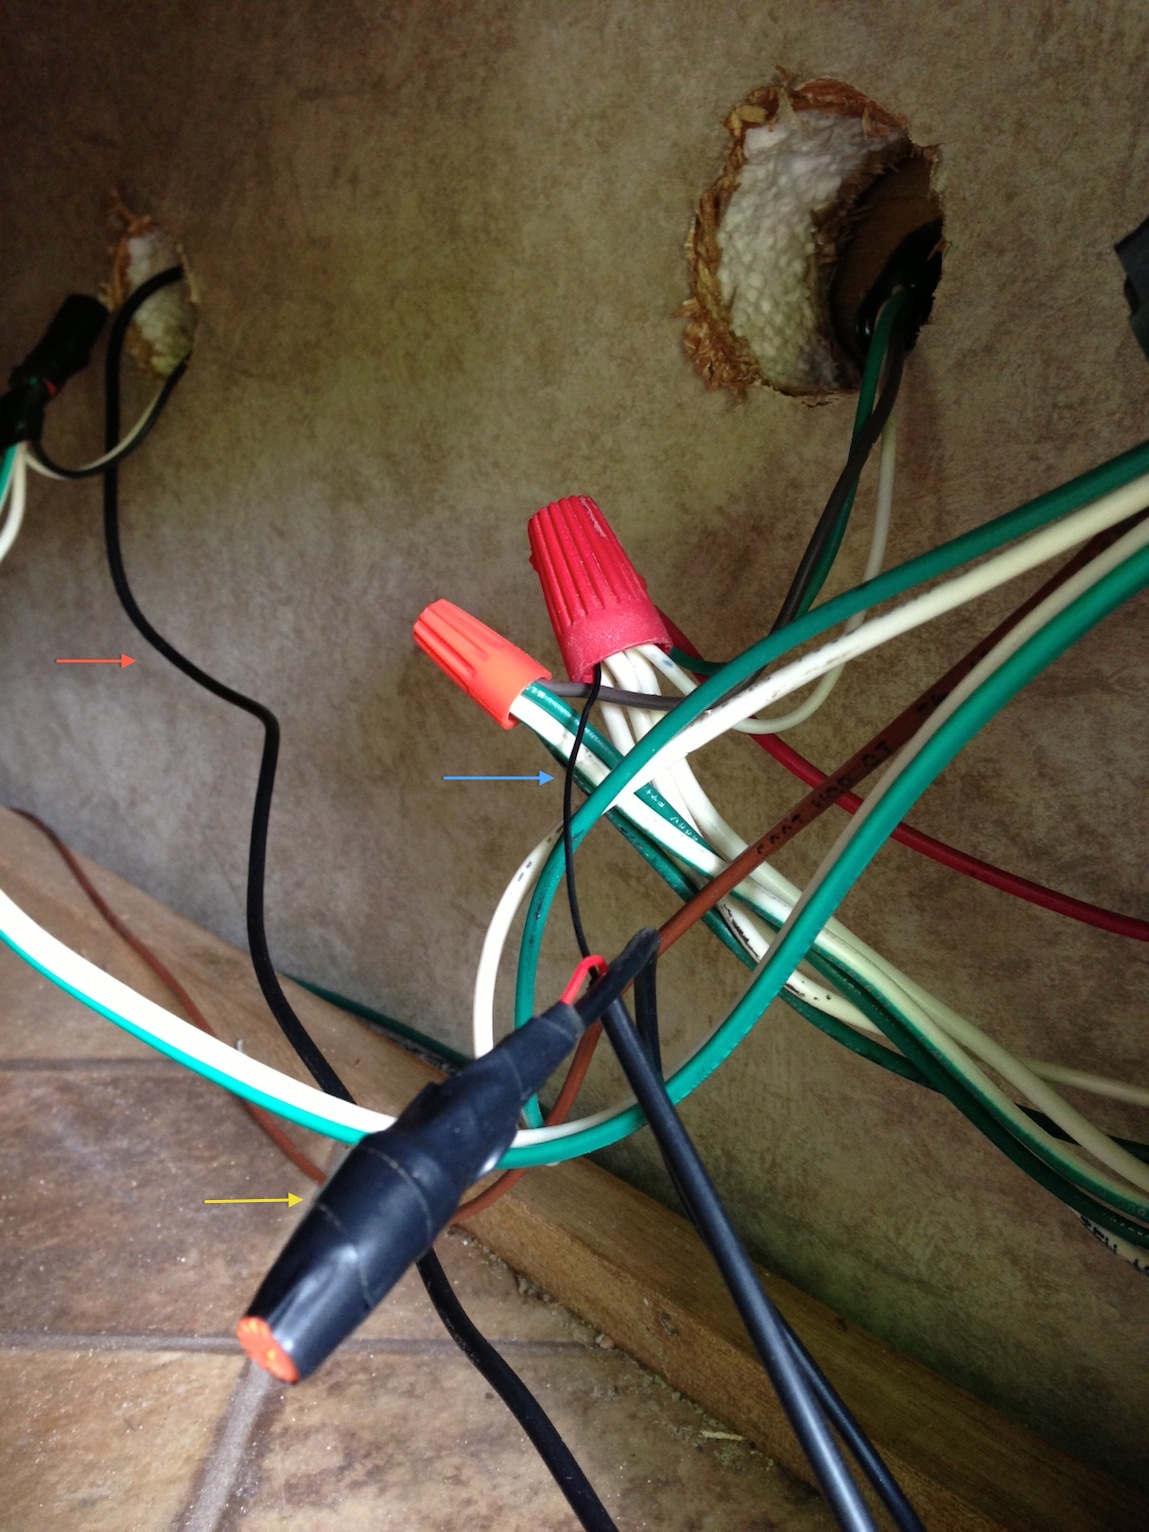 The Pod itself is now wired for the backup cam. We now move to the TV itself. We dismantled the socket plug and now had to determine which pin on the 7 way socket was auxiliary power. With our TV it ended up being the black wire. We came to this by using a volt meter and seeing which pin had 12 volts. We used a 14 gauge jumper wire between the auxiliary power pin and the unused center pin. We then reassembled the socket and tested the camera! The power to the camera now turns on only when the 7 way plug is connected to the TV; therefore, no drainage of the pod battery will ever occur. This also leaves the camera running while we tow so it acts like a rear view mirror! -ThePinoyPodders (Hubby) |
|
|
2010 R Pod 172
2013 Ford F-150 https://www.facebook.com/ThePinoyPodders |
|
 |
|
|
TIDALWAVE
Senior Member 

Joined: 21 Nov 2009 Location: MINNESOTA Online Status: Offline Posts: 315 |
Posted: 01 Jul 2013 at 7:18pm |
 Try installing a 'wireless' camera that feeds from the rear running lites. No having to snake wires to and thru' the TV. A simple plugin LED receiver on the dash. If the running lites are shut off or the Pod is unplugged from the TV...no camera-battery drain. Check on the broadcast distance of the camera...some cannot even reach 20 feet! Try installing a 'wireless' camera that feeds from the rear running lites. No having to snake wires to and thru' the TV. A simple plugin LED receiver on the dash. If the running lites are shut off or the Pod is unplugged from the TV...no camera-battery drain. Check on the broadcast distance of the camera...some cannot even reach 20 feet! |
|
|
TIDALWAVE
|
|
|
|
|
ThePinoyPodders
Newbie
Joined: 30 Apr 2013 Location: Ontario, Canada Online Status: Offline Posts: 13 |
Posted: 01 Jul 2013 at 7:39pm |
|
That's a great suggestion Tidalwave! Would have been nice to not have the mod take quite as long :p
I'm just not sure about the lights. Do the day time running lights of TV's activate the Pod's running lights? We always leave our TV's lights on "Auto", so it always has the day time running lights on, but won't switch to full lights until it's dark enough. Our Yada has a 50ft rated distance, and so far it works very well up to that distance. There was a 50% off sale, so we couldn't pass it up! -ThePinoyPodders (Wife) |
|
|
2010 R Pod 172
2013 Ford F-150 https://www.facebook.com/ThePinoyPodders |
|
|
|
|
techntrek
Admin Group - pHp 
Joined: 29 Jul 2009 Location: MD Online Status: Offline Posts: 9059 |
Posted: 01 Jul 2013 at 10:35pm |
|
Nice detailed write-up. Eventually I need to get a wireless one, one that I can swap between the back of the pod and back of the TV when I'm not towing.
|
|
|
|
|
ThePinoyPodders
Newbie
Joined: 30 Apr 2013 Location: Ontario, Canada Online Status: Offline Posts: 13 |
Posted: 02 Jul 2013 at 8:22pm |
|
Thanks teckntrek! Well, before we started this mod one of the things I wanted to do is have the option of a quick connect system that would allow the camera to be attached to the Pod when towing or the TV when detached from the Pod as you were suggesting.
I was thinking as a future project to add a simple "jack" style quick connect onto the trailer and my TV, should work I think :) Cheers! -ThePinoyPodders (Hubby) |
|
|
2010 R Pod 172
2013 Ford F-150 https://www.facebook.com/ThePinoyPodders |
|
|
|
|
TIDALWAVE
Senior Member
Joined: 21 Nov 2009 Location: MINNESOTA Online Status: Offline Posts: 315 |
Posted: 04 Jul 2013 at 11:26am |
 On my Chevy pickup whenever the pickup's running lights are on so are the Pod's. If I activate the 'auto'-lights...the running lights go on by themselves. During the day I sometimes turn on the running lights (and the rear camera), just to check on any traffic that may be 'drafting' just behind the Pod. On my Chevy pickup whenever the pickup's running lights are on so are the Pod's. If I activate the 'auto'-lights...the running lights go on by themselves. During the day I sometimes turn on the running lights (and the rear camera), just to check on any traffic that may be 'drafting' just behind the Pod.Before installing the camera, I once had a small car do that and it was hidden from my mirrors. We both proceeded to try to pass another vehicle, scary moment as we both tried to swing into the left lane. |
|
|
TIDALWAVE
|
|
|
|
|
TerryM
Admin Group - pHp

Joined: 16 Nov 2009 Location: Saint Augustine Online Status: Offline Posts: 1950 |
Posted: 04 Jul 2013 at 1:28pm |
There is no reason why that wouldn't work. You would just need 2 mounts for the camera. Terry |
|
|
RP-175 W/Lift Kit 2011 Ford F-150 4X4
Saint Augustine, FL: The first permanent European settlement in the USA: 1565 |
|
|
|
|
Chuck
Senior Member

Joined: 29 Apr 2011 Location: Waukesha WI Online Status: Offline Posts: 140 |
Posted: 05 Jul 2013 at 11:05am |
|
Does anyone have any experience with the iBall wireless camera?
|
|
|
Z-pod
Chuck Janet & Bogie the dog '12 RP 177 1972 Shasta 1400 2005 Ford F-150 5.3L V8 |
|
|
|
|
dsmiths
Senior Member

Joined: 10 Oct 2011 Location: Southern Ind Online Status: Offline Posts: 866 |
Posted: 05 Jul 2013 at 10:41pm |
|
Chuck, I have an I ball and I really like it. It was reasonably priced. I primarly use it for backing up and hooking up. I thought about putting a 12 volt cigar lighter socket inside and using it for an outside camera. You can also use it when backing into a camping spot, the camera has a magnetic base that you can stick on the spare tire carrier and watch as you back into a spot. the resolution on the camera is quite good.
|
|
|
Dane and Donna Smith
2011 RP-172 2008 Chevrolet Trailblazer 4X4 lift kit prodigy wireless brake controller |
|
|
|
|
SteveC
Newbie
Joined: 05 Jul 2013 Location: Williamston, MI Online Status: Offline Posts: 20 |
Posted: 06 Jul 2013 at 9:04am |
|
The addition of a camera on the back of the Pod is great idea for safety of people and the Pod, especially for those that struggling backing up with a trailer attached. I have looked into adding the the YADA model so I watched the install videos on the YADA site. I have a Chevy Silverado and the instructions say to wire the camera into the drivers side rear light...if using the camera on the truck. Wondering on the Pod if you could wire it into the rear light and if not why? |
|
|
2014 R Pod 178
|
|
|
|
|
Post Reply
|
Page 12> |
| Forum Jump | Forum Permissions You cannot post new topics in this forum You cannot reply to topics in this forum You cannot delete your posts in this forum You cannot edit your posts in this forum You cannot create polls in this forum You cannot vote in polls in this forum |


")


 Back Up Camera Mod (That won't drain Pod battery!)