
|
|
Post Reply 
|
Page 123> |
| Author |
 Printable Version Printable Version Google Google Delicious Delicious Digg Digg StumbleUpon StumbleUpon Windows Live Windows Live Yahoo Bookmarks Yahoo Bookmarks reddit reddit Facebook Facebook MySpace MySpace Newsvine Newsvine Furl Furl Topic Search Topic Search  Topic Options Topic Options
|
Motor7 
Senior Member 
Joined: 09 Jan 2019 Location: E. TN Online Status: Offline Posts: 196 |
 Topic: New to me 176T.....Mods have begun...... Topic: New to me 176T.....Mods have begun......Posted: 14 Jan 2019 at 8:40am |
|
Picked the 2015 up Sat morning. After reading here about other modifications I knew to look under the wet bath for a lack of bracing. Yep, FR supported the shower pan with 4 - 2x4's almost at each corner under some foam and a 1/2" piece of plywood which left the center(the place we will all stand) basically unsupported. The area in red is what needs more support and it is 11" by about 10": 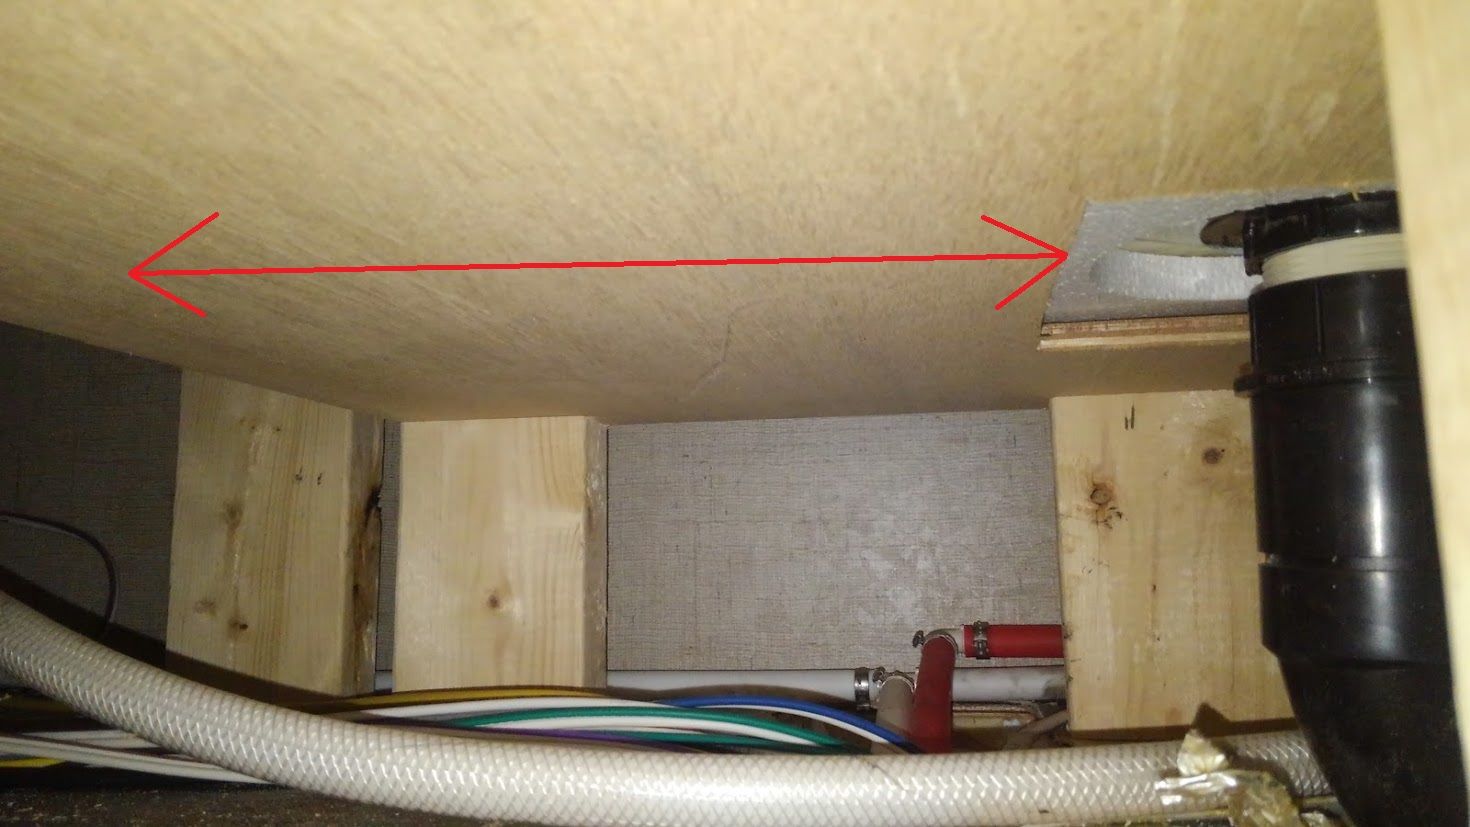 Access to the area is through the storage under the left side dinette seat and a louvered vent cover under the bathroom door. There is not enough room to assemble a "T" shaped support, so I just cut a section of 3/4 plywood into a 11 x 5" rectangle, then cut two smaller sections for the pedestal and screwed those two together. I then slid the rectangle piece under the shower pan, held it up against under the pan then placed the pedestal under it. I had pre-drilled some holes in the rectangle and some angled holes in the base of the pedestal. By hand I screwed in all the screws(in red ovals) locking the both sections of wood in place: 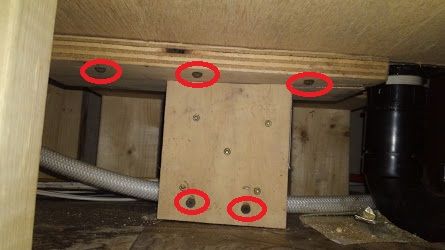 That done, the next 'fix' is to remove the spare from the bump-out tent bed base and relocate it under the trailer. When the seller closed up the tent bed, we had a heck of a time getting the bed base to close properly...it was hitting the top inside lip of the camper and upon inspection I found it crooked and poorly aligned...most likely at the factory since there were no signs of sagging or stripped screws. More to come............
|
|
|
2016 R-Pod 176T
|
|
 |
|
|
Motor7
Senior Member
Joined: 09 Jan 2019 Location: E. TN Online Status: Offline Posts: 196 |
Posted: 17 Jan 2019 at 7:27pm |
|
Next was the crooked folding queen tent bunk. I did not take a before pic, but mine was so misaligned that the gap on the top right side was zero:
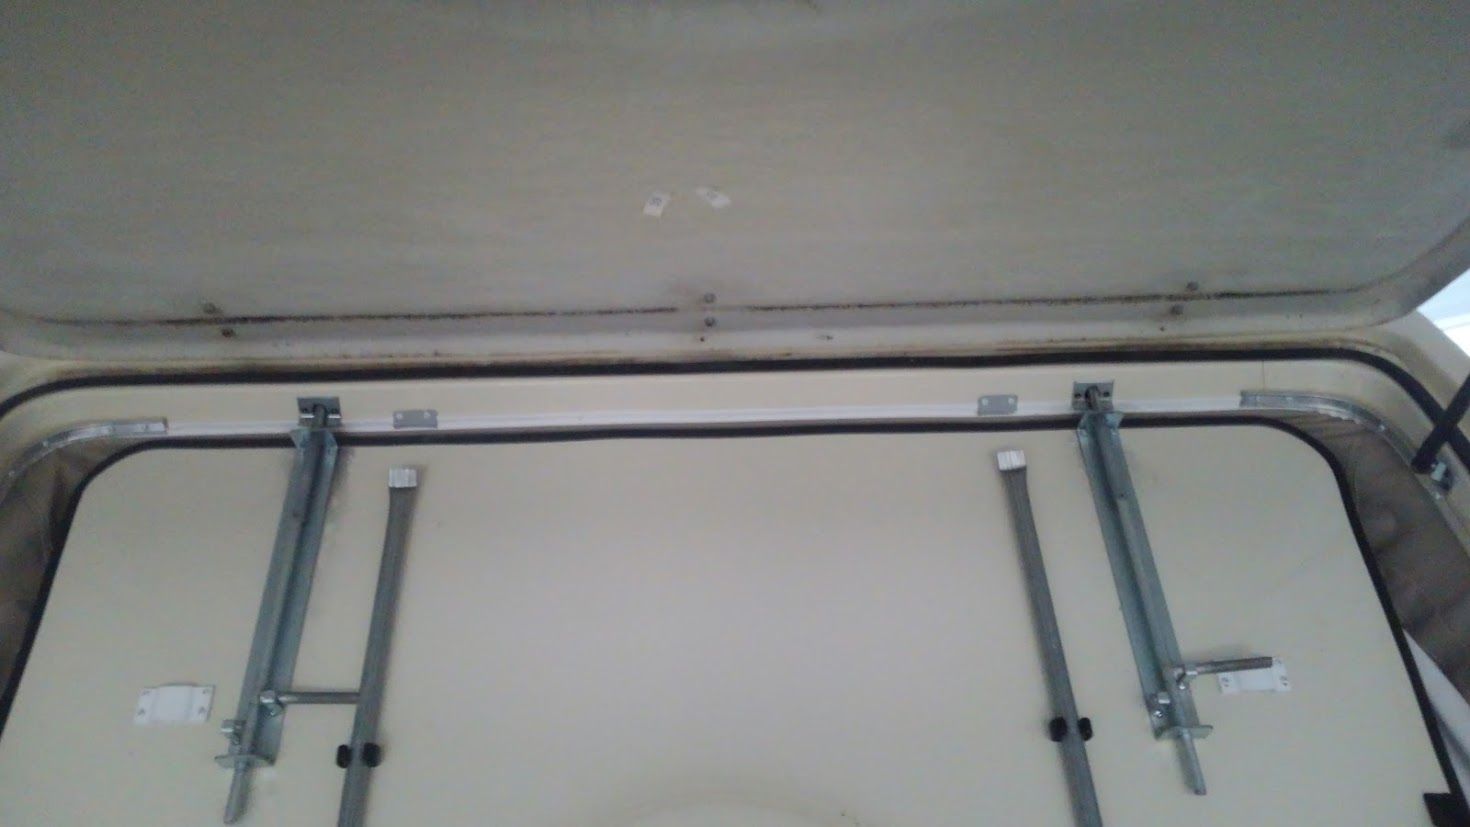 So I removed all the screws on the top of the piano hinge except the ones on each end: 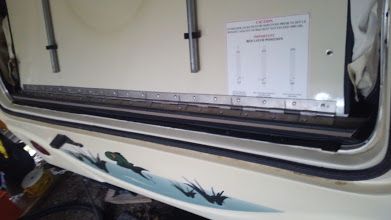 I put a 2x4 and another small block of wood inside under the 'door' then removed the RH screw. this dropped the door about 1/4" so I pre-drilled the fiberglass to keep it from spider-webbing(there is an aluminium frame behind the glass) then replaced the screw. You can see the "witness mark" above the top corner of the hinge where it was originally installed: 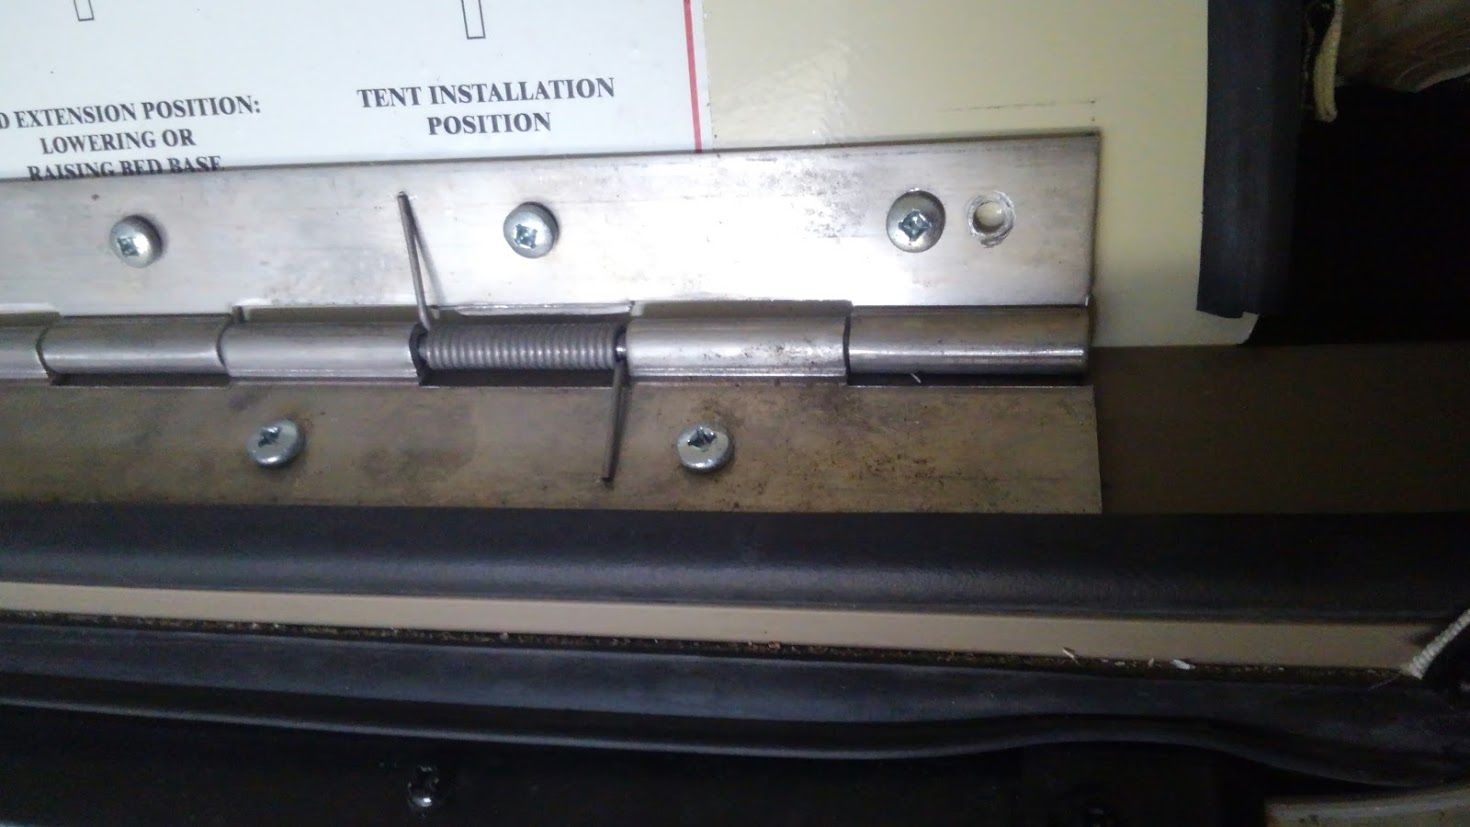 then I pre-drilled the rest of the screws before screwing them back in. The result is a door that fits properly:  |
|
|
2016 R-Pod 176T
|
|
|
|
|
Motor7
Senior Member
Joined: 09 Jan 2019 Location: E. TN Online Status: Offline Posts: 196 |
Posted: 18 Jan 2019 at 7:19pm |
|
Added a MaxxAir vent cover and it was really close to the batwing antenna but it fit:
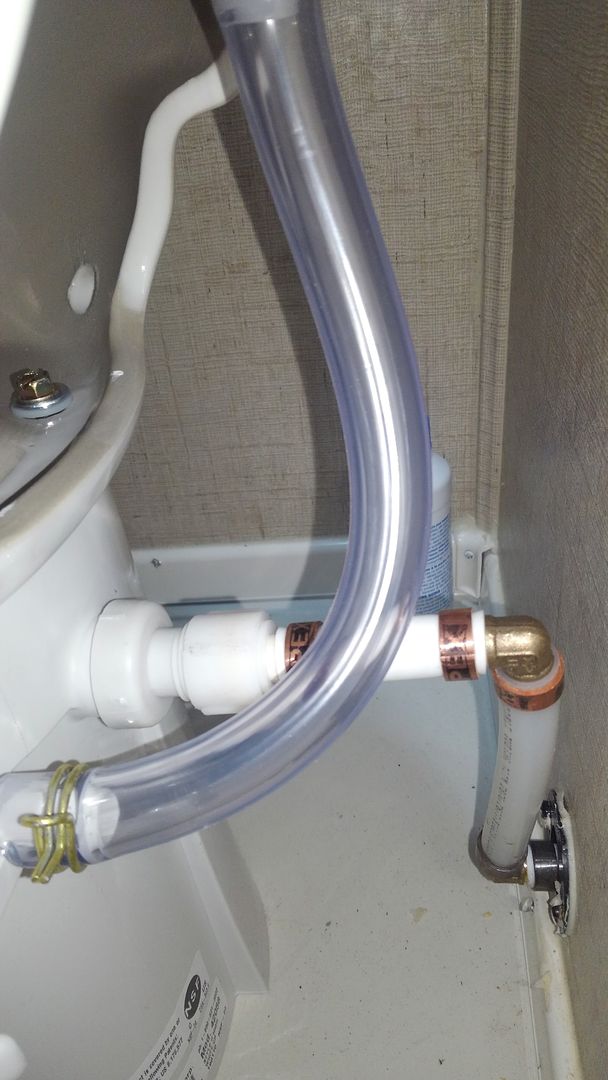
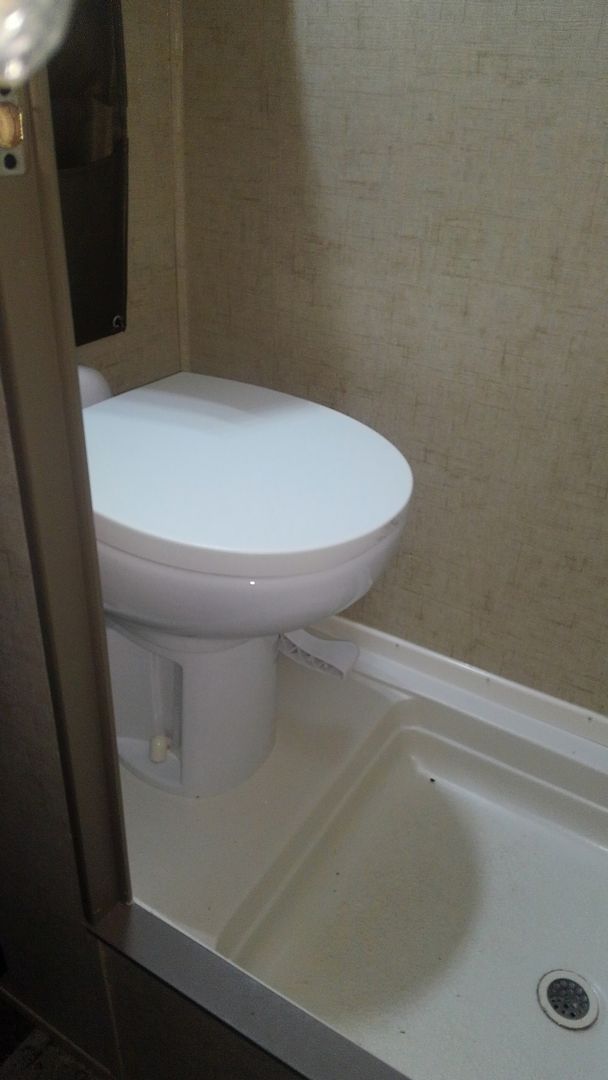
 the green is foam to keep the ladder from scratching the side of the Pod: 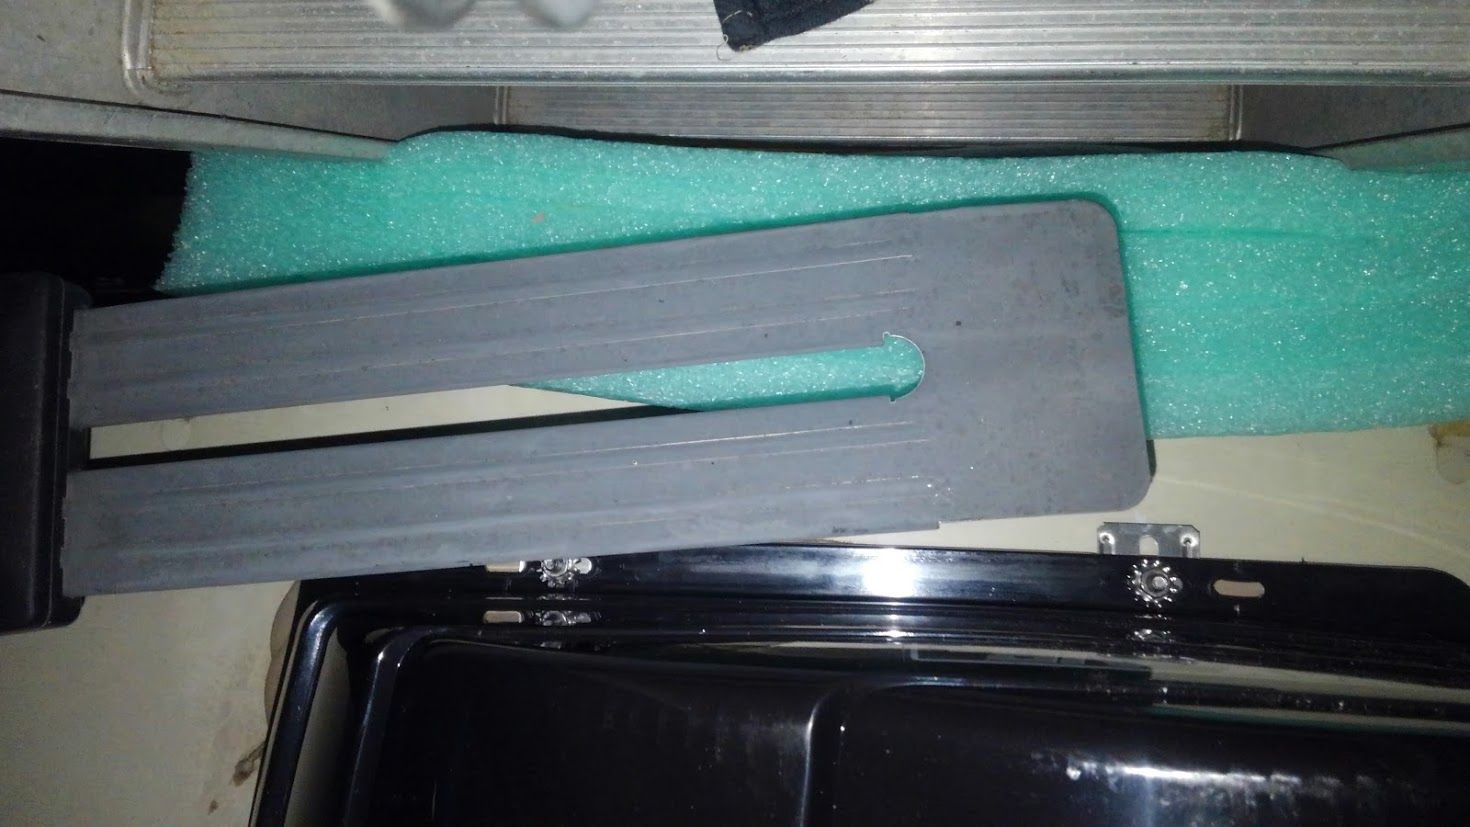 I also replaced the head with a tall ceramic Thedford. It required changing the Pex plumbing water inlet configuration.
|
|
|
2016 R-Pod 176T
|
|
|
|
|
Motor7
Senior Member
Joined: 09 Jan 2019 Location: E. TN Online Status: Offline Posts: 196 |
Posted: 20 Jan 2019 at 4:21pm |
 |
|
|
2016 R-Pod 176T
|
|
|
|
|
Motor7
Senior Member
Joined: 09 Jan 2019 Location: E. TN Online Status: Offline Posts: 196 |
Posted: 30 Jan 2019 at 12:49pm |
|
I added two Costco/Interstate 6'v batteries and a side by side battery box:
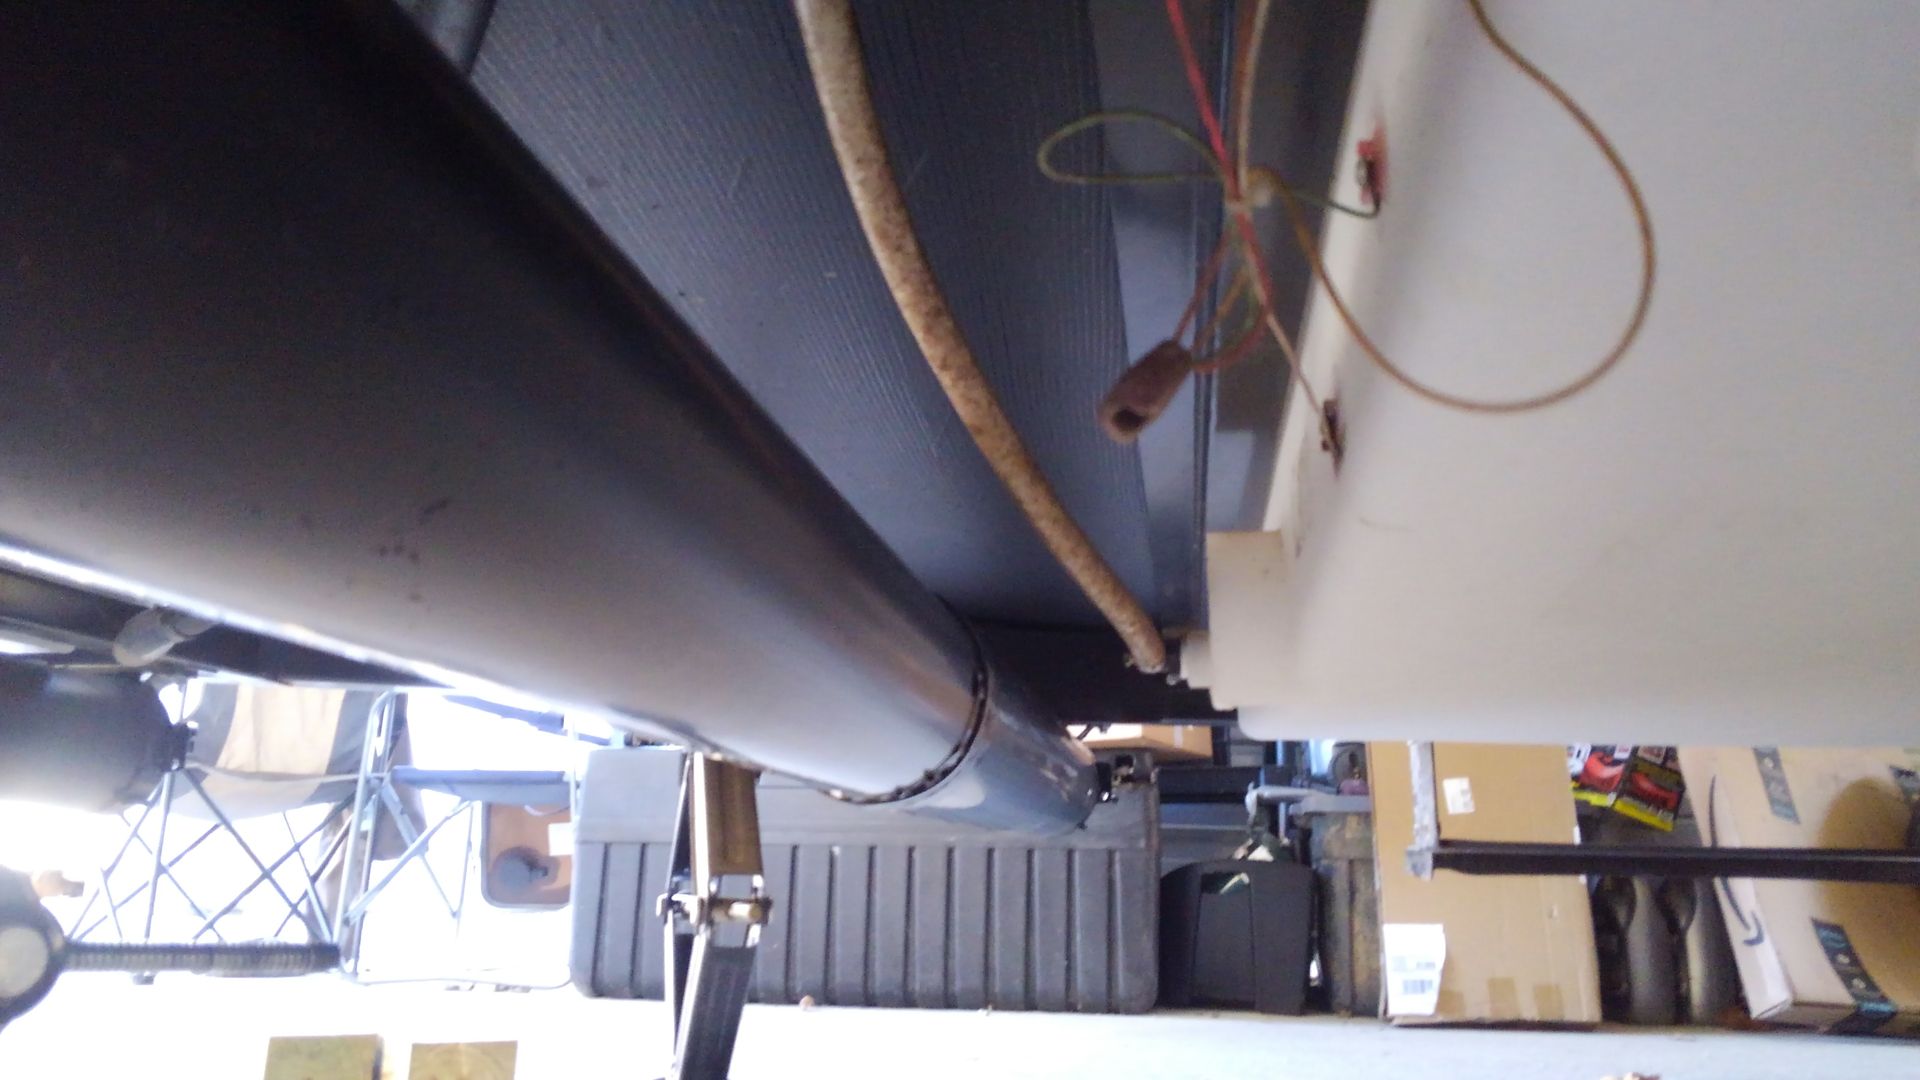
https://allbatterysalesandservice.com/century-plastics-heavy-duty-battery-box-holds-2-6-volt-golf-cart-batteries-gce-g  Next was the sewer Hose caddy. I bought the 60" one which will not reach between the frame rails unless you modify it just a bit. It has to be slid open about 2.5" past where they recommend, so I marked it, then wrapped the tube at the joint with Gorilla tape, added a heavy duty zip tie, and will also run a strap support under the center so it won't bounce: https://www.dwincorp.com/product/super-slider-adjustable-super-tube/ 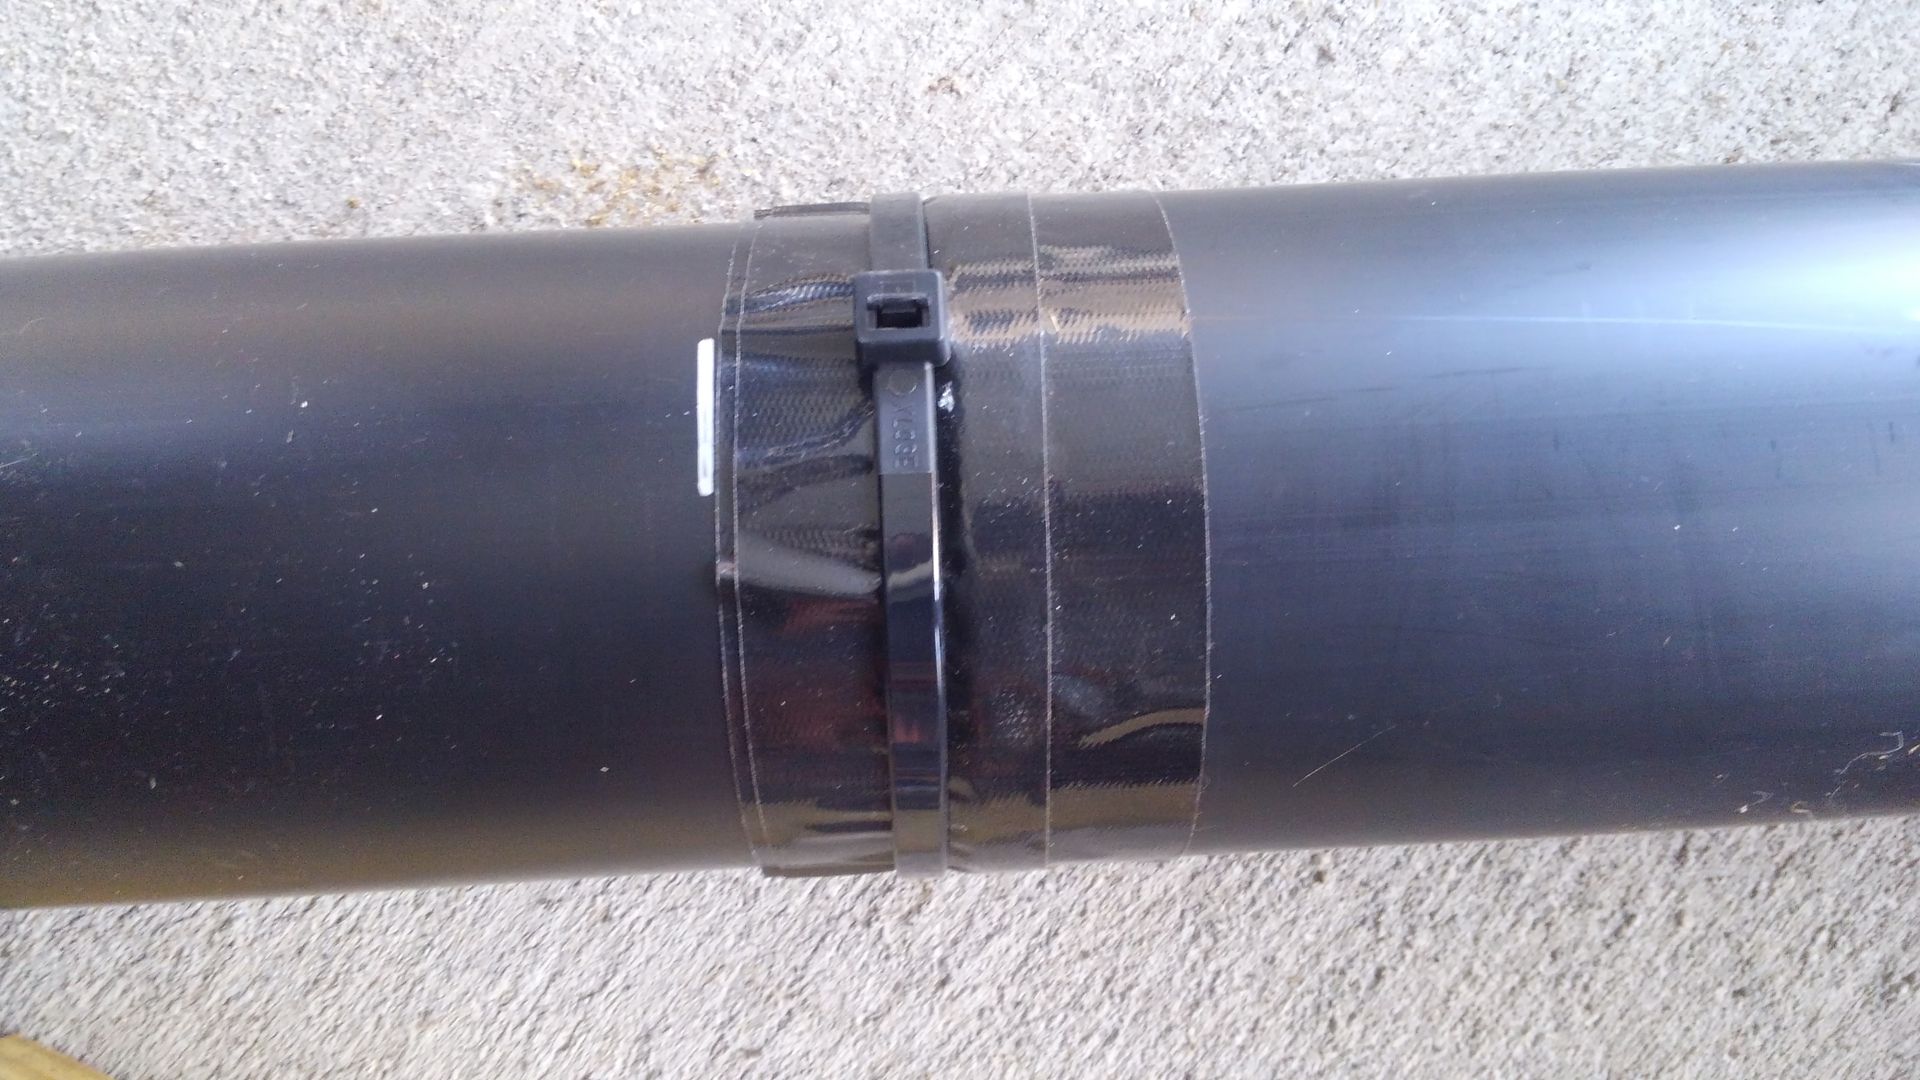 |
|
|
2016 R-Pod 176T
|
|
|
|
|
Motor7
Senior Member
Joined: 09 Jan 2019 Location: E. TN Online Status: Offline Posts: 196 |
Posted: 31 Jan 2019 at 7:53am |
 |
|
|
2016 R-Pod 176T
|
|
|
|
|
StephenH
podders Helping podders - pHp

Joined: 29 Nov 2015 Location: Wake Forest, NC Online Status: Offline Posts: 6456 |
Posted: 31 Jan 2019 at 8:38am |
|
Looks pretty good to me.
|
|
|
StephenH
Happy is the man that findeth wisdom,... ouR escaPOD mods Former RPod 179 Current Cherokee Grey Wolf 24 JS |
|
|
|
|
Motor7
Senior Member
Joined: 09 Jan 2019 Location: E. TN Online Status: Offline Posts: 196 |
Posted: 31 Jan 2019 at 3:36pm |
|
Risers are here....aaand it's warming up so I can install them and still 'feel' my fingers.
|
|
|
2016 R-Pod 176T
|
|
|
|
|
Motor7
Senior Member
Joined: 09 Jan 2019 Location: E. TN Online Status: Offline Posts: 196 |
Posted: 02 Feb 2019 at 5:09pm |
|
Riser time:
 Jacked up the pod: 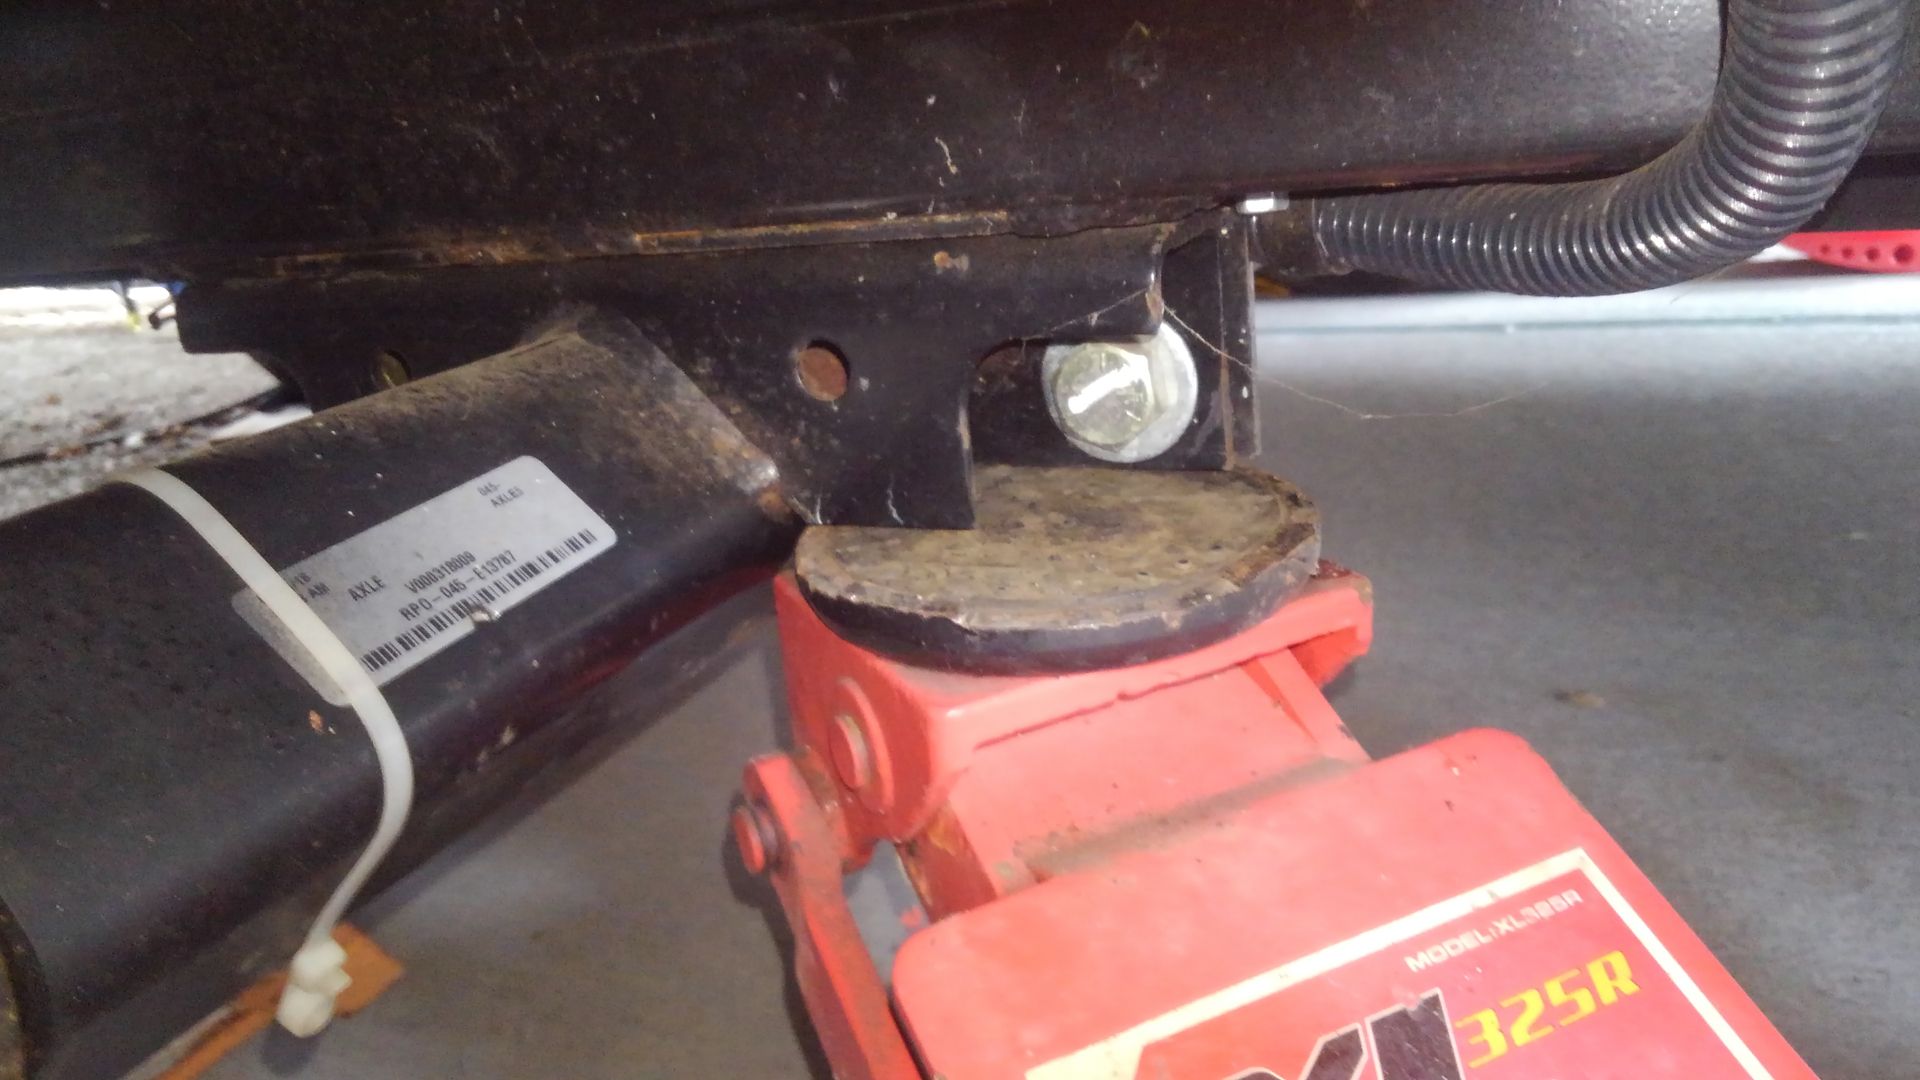 Set up the Jack stands using 2x4's along the frame: 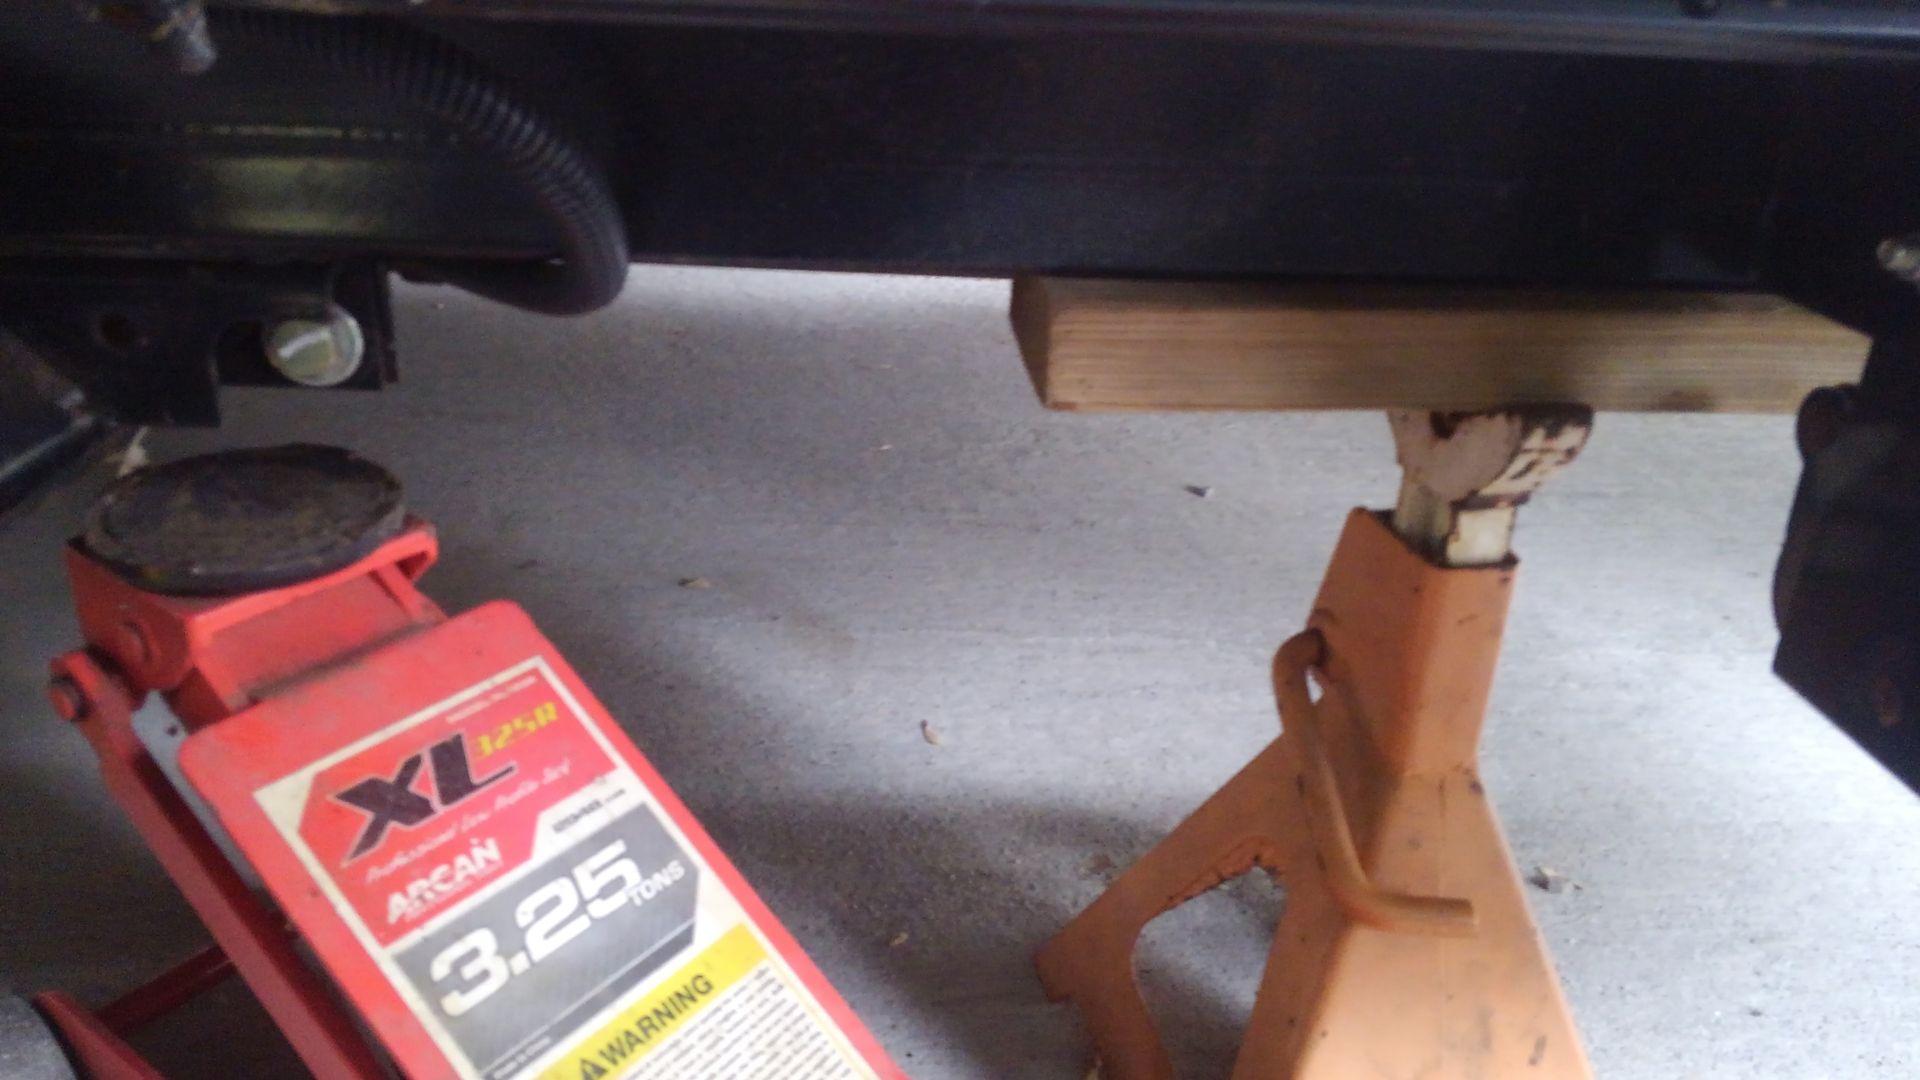  |
|
|
2016 R-Pod 176T
|
|
|
|
|
Motor7
Senior Member
Joined: 09 Jan 2019 Location: E. TN Online Status: Offline Posts: 196 |
Posted: 02 Feb 2019 at 5:14pm |
|
I have a air impact. If you are going to do this yourself, it's much easier with an impact, either air or electric. Dropped the axle:
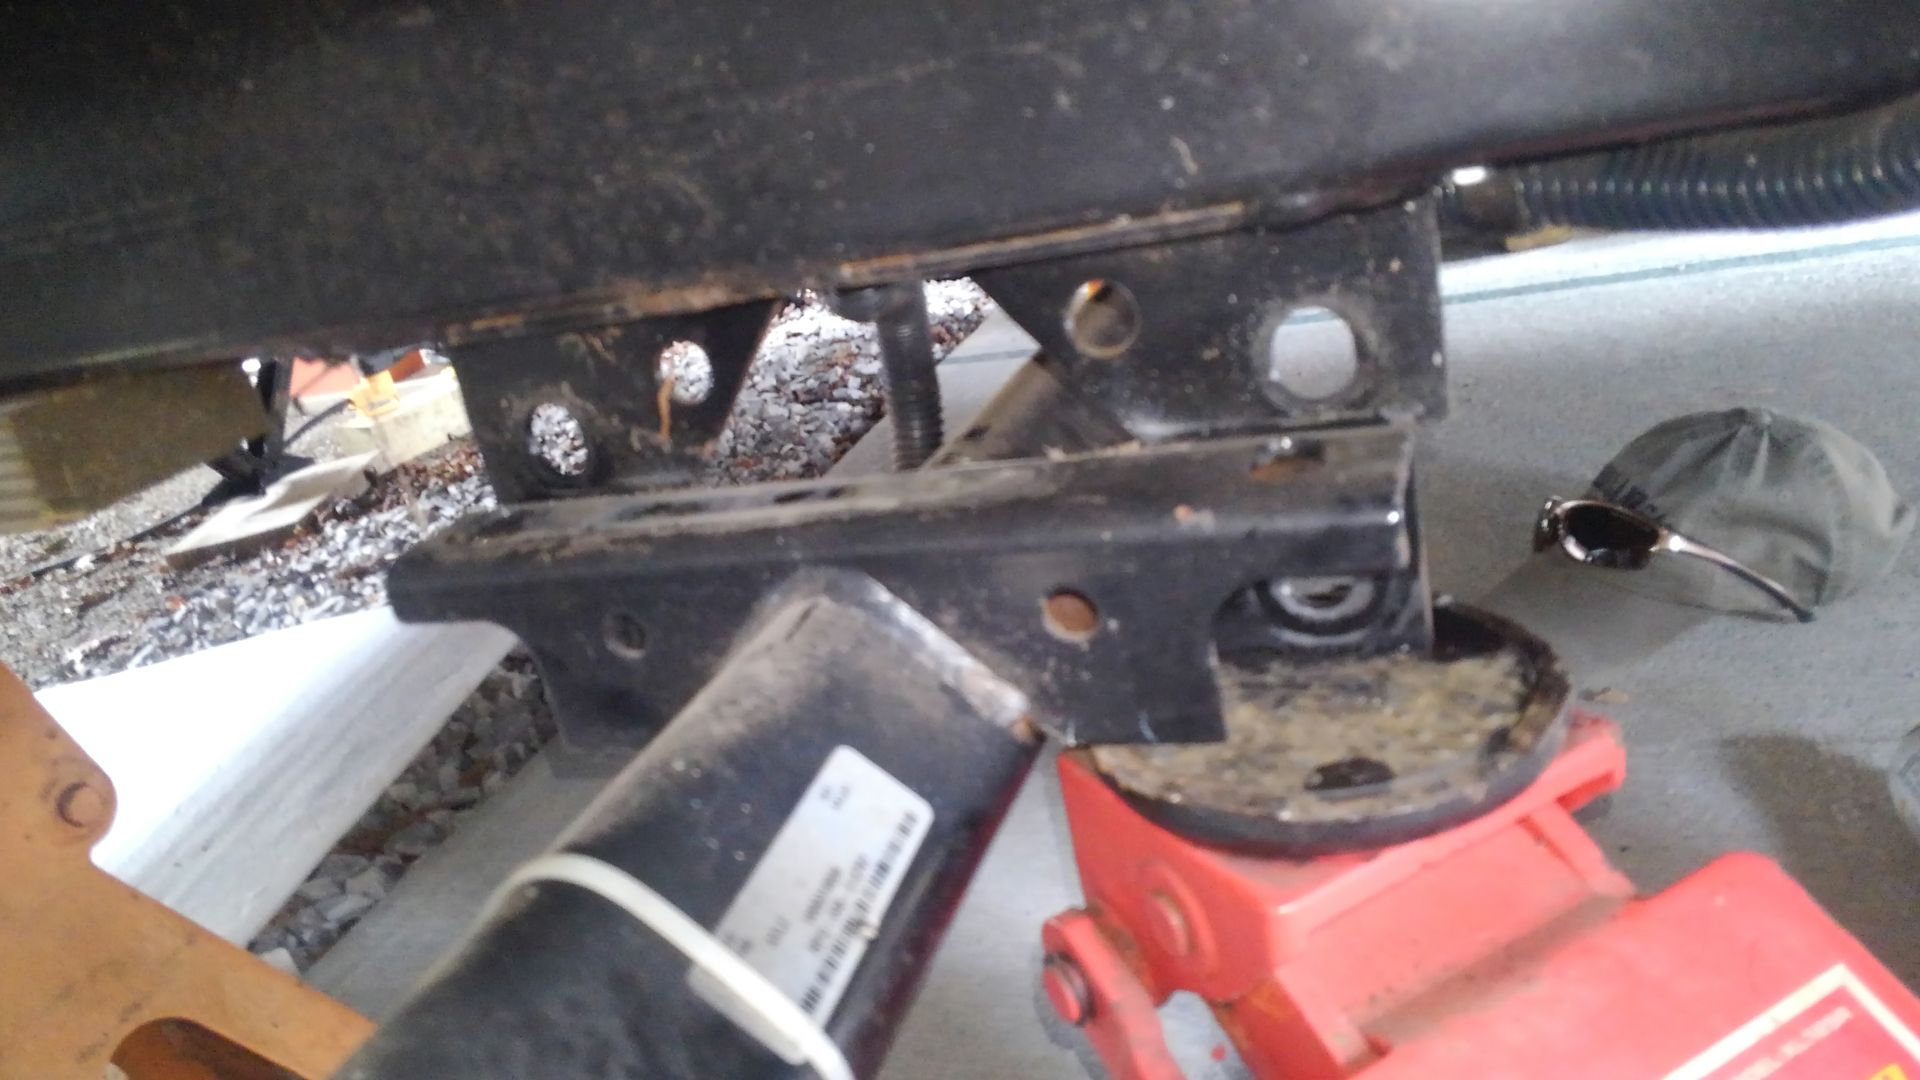 When I slid the riser in, this little self tapping screw they used for the wiring loom was in the way, preventing the riser from lining up. You may or may not have this issue, it just depends on the factory installation guy or gal: 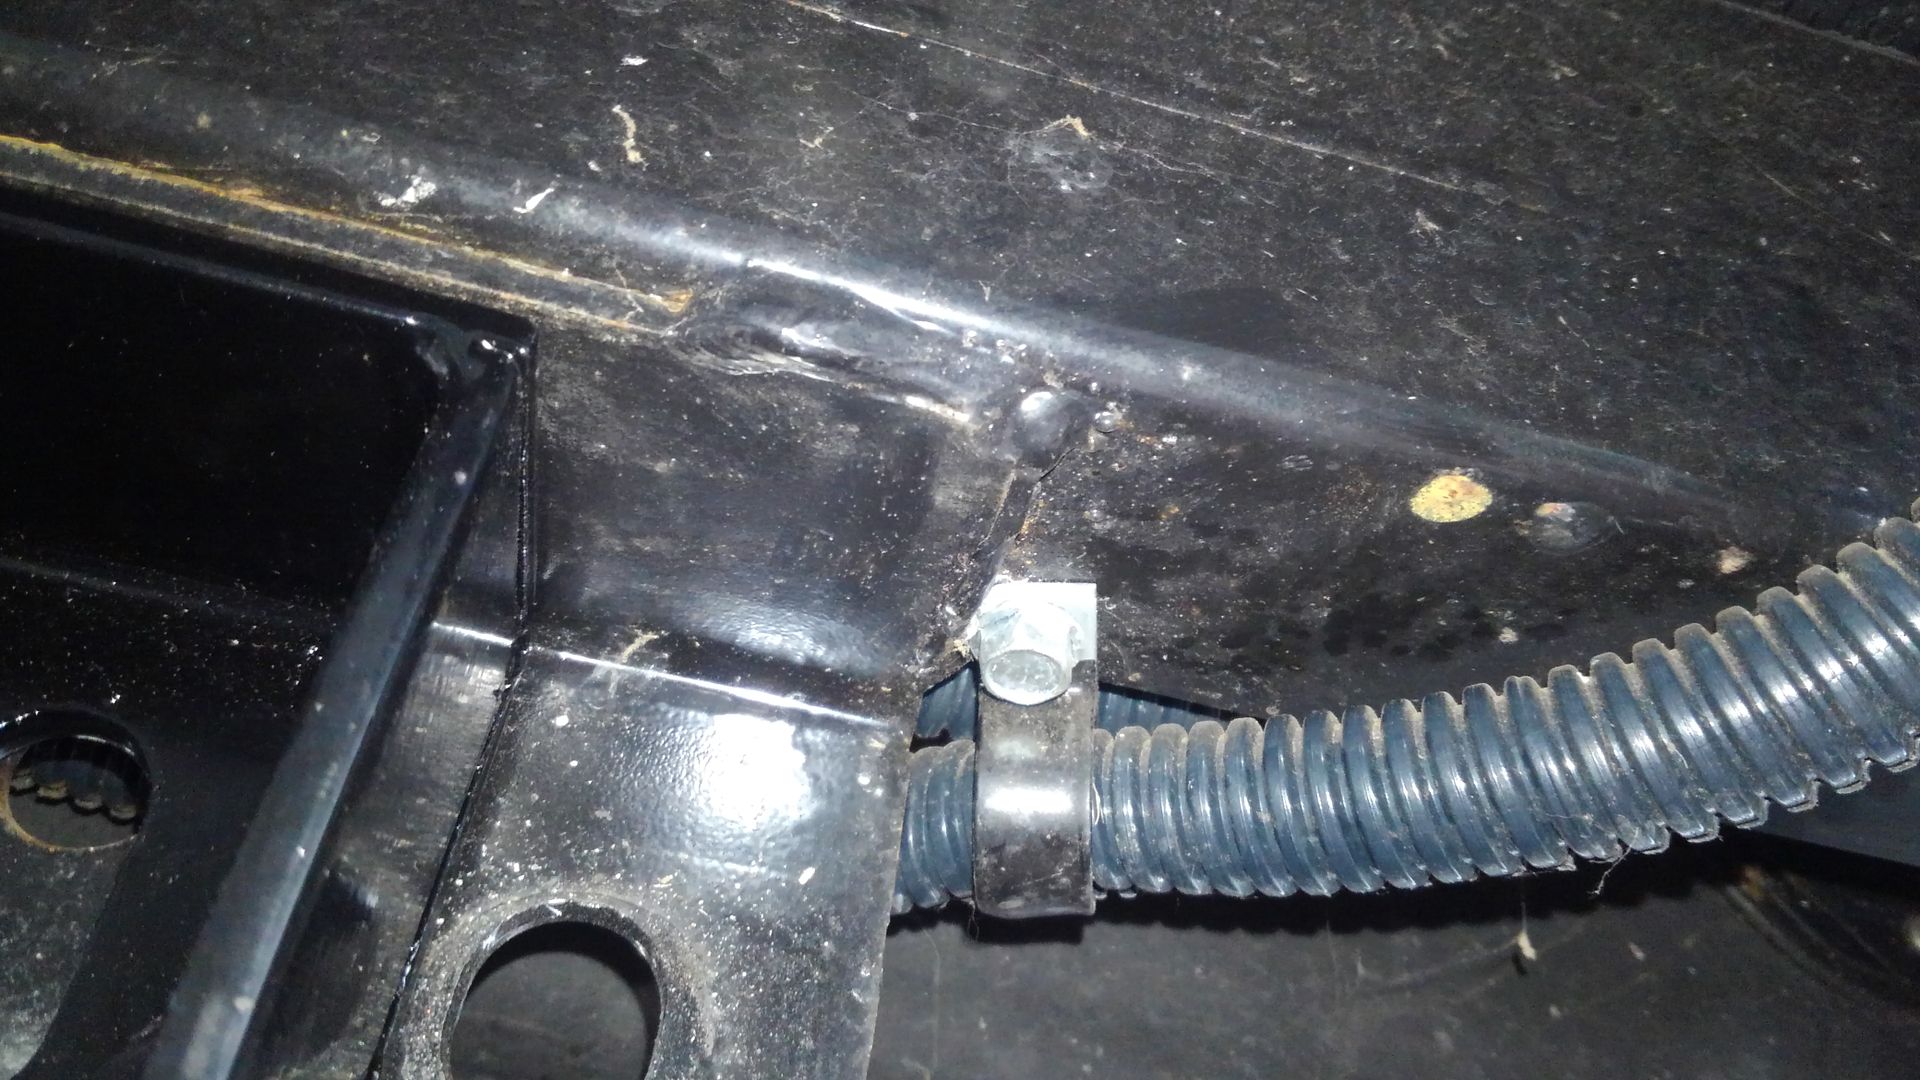 |
|
|
2016 R-Pod 176T
|
|
|
|
|
Post Reply
|
Page 123> |
| Forum Jump | Forum Permissions You cannot post new topics in this forum You cannot reply to topics in this forum You cannot delete your posts in this forum You cannot edit your posts in this forum You cannot create polls in this forum You cannot vote in polls in this forum |


 New to me 176T.....Mods have begun......