Flush stove top installation 172
Printed From: R-pod Owners Forum
Category: R-pod Discussion Forums
Forum Name: Podmods, Maintenance, Tips and Tricks
Forum Discription: Ask maintenance questions, share your podmods (modifications) and helpful tips
URL: http://www.rpod-owners.com/forum_posts.asp?TID=8616
Printed Date: 25 Jun 2025 at 2:18pm
Software Version: Web Wiz Forums 9.64 - http://www.webwizforums.com
Topic: Flush stove top installation 172
Posted By: HuronSailor
Subject: Flush stove top installation 172
Date Posted: 20 Aug 2016 at 6:56pm
|
This is the part you need, available at Camping world or Amazon. This flush mount stove top is standard on many of the new rpods starting this year but can be retrofitted to many of the older pods like mine. This part is used along with your existing 2 burner stove. 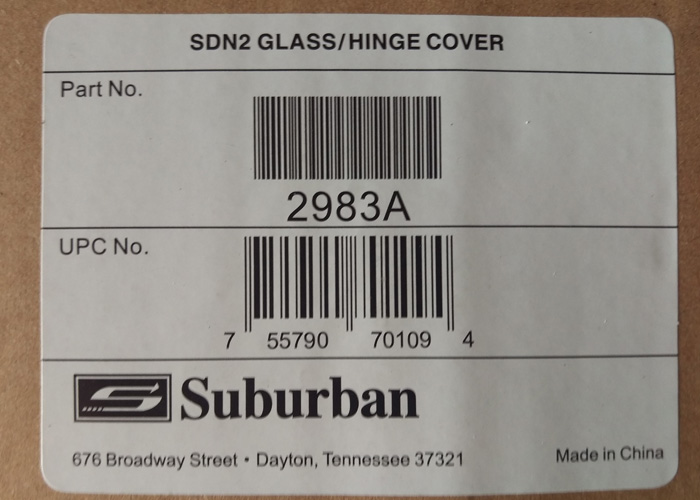 Remove the old stove top and do some layout work on the counter. I've marked the center lines of the old stove top on the green tape. The hash marks are "no cut" zones. There's some cabinet structure under there that we don't want to cut into. 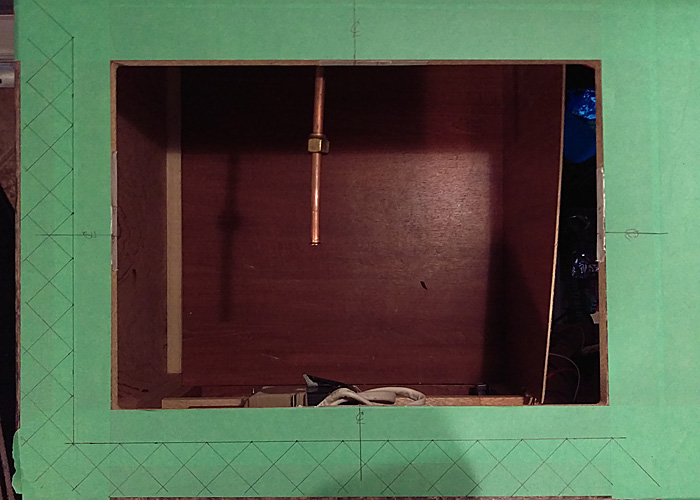 Make a pattern from the new stovetop by tracing around it, then making a second line inside the first one 3/8". The inside line will be your cut line. Line up the center lines of the pattern with your old stove top center lines and check things out. 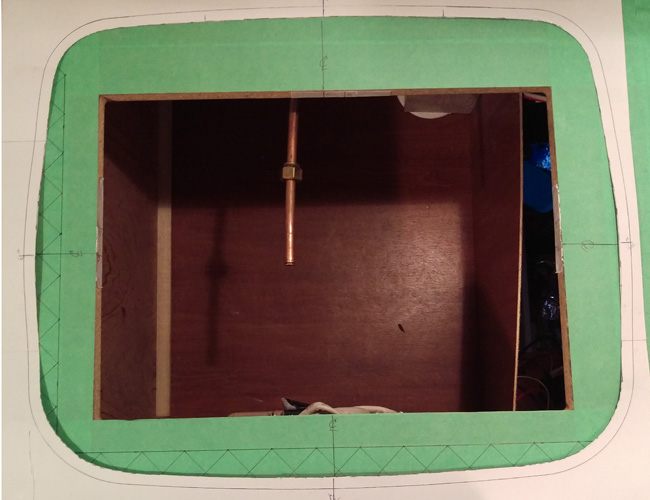 You can see we'll have to move the new stove top to avoid the "no cut" zones. Also check under the cabinet top for wire harnesses and plumbing that may need to be moved. I ended up moving the pattern to the right and back 1". I also moved a wiring harness between the sink and stove over a bit but it was just a matter of relocating a few clamps. You can see the edge of an electrical outlet poking into the bottom of the photo. The old stove barely cleared that outlet, and I'll end up moving the stove back. There's plenty of clearance. 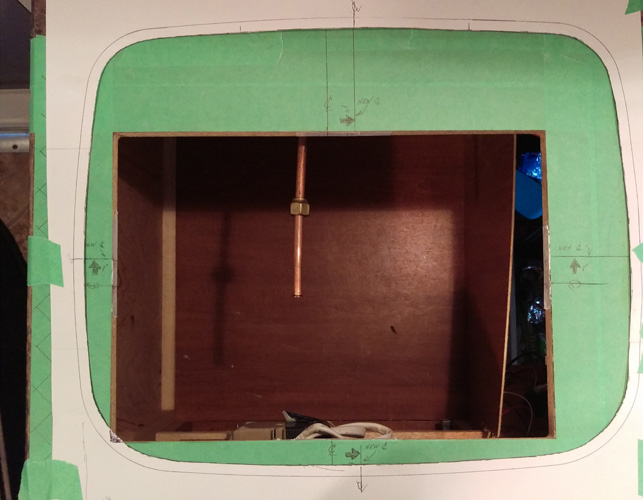 Here's how the saw line ends up. No more interference with the "no cut" zone. We don't quite have enough existing counter top in the lower left corner but the mounting flange of the new stove top will cover that. 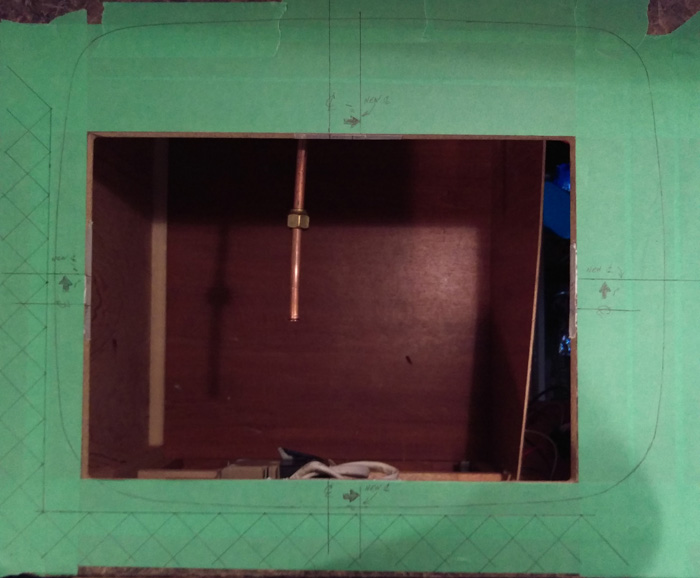 Here's that little bit of the old stove top cutout but it's not going to be a problem. 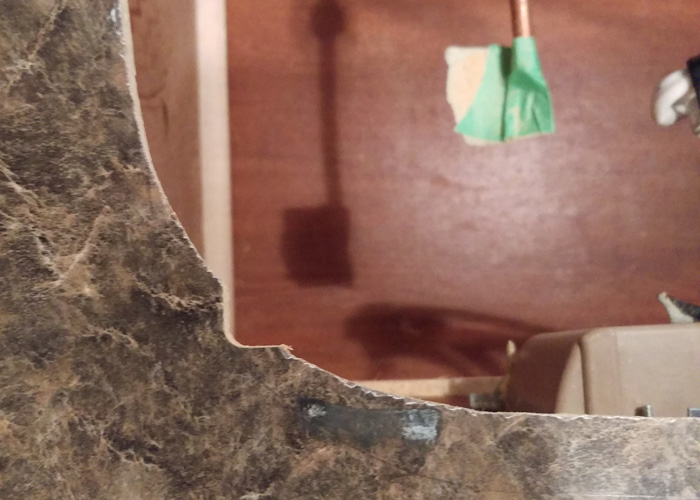 Reattach all wiring harnesses, drop in the new stove top and secure with three screws. Drop the old stove body into the new stove top and secure with 4 screws, reattach the gas and put the old stove top back on, securing with 2 screws. Done. 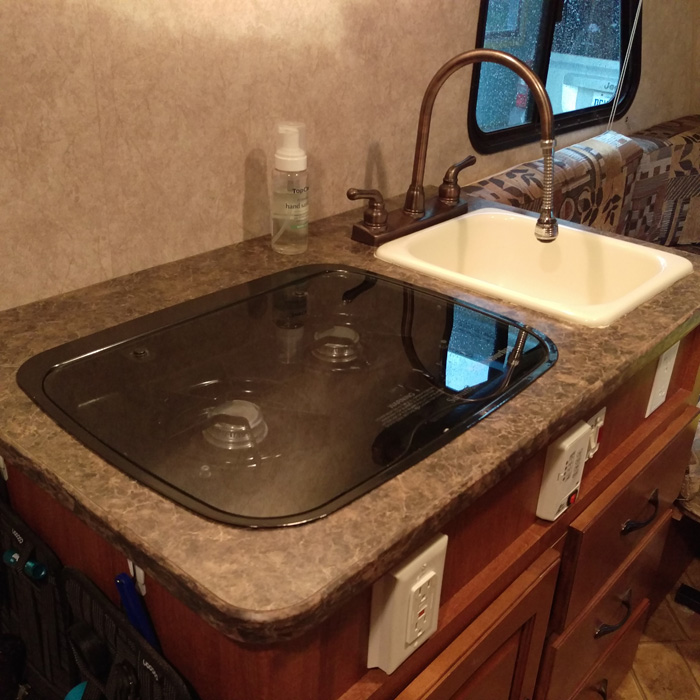 Here's the old stove cover sitting on top of the new stove. You can see it's about the same size as the new stove but sat 1 1/2" above the counter. 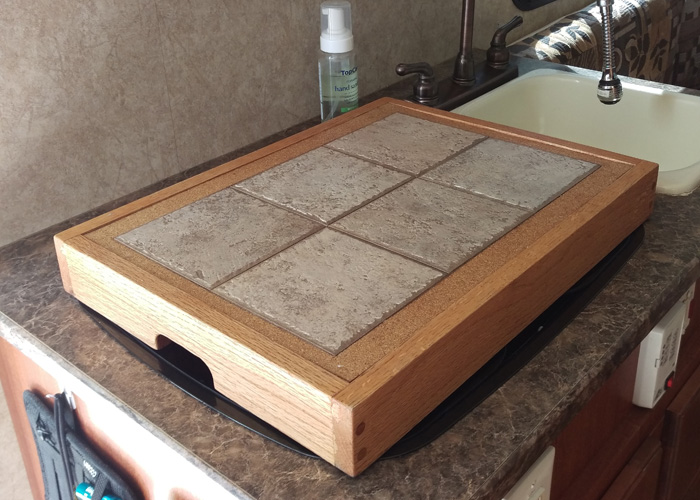 ------------- .: Mark & Beth :: Silverado 5.3L :: 2018 rPod 180 :. |
Replies:
Posted By: techntrek
Date Posted: 20 Aug 2016 at 9:30pm
|
Boom! ------------- Doug ~ '10 171 (2009-2015) ~ 2008 Salem ~ http://www.rpod-owners.com/forum_posts.asp?TID=1723 - Pod instruction manual 
|
Posted By: bjk
Date Posted: 20 Aug 2016 at 10:03pm
|
Looks very nice! I'd be curious to see how the glass cover holds up (before getting scratched up from things being on top of it). ------------- 2016 HRE R-179 "CapPODccino" 2011 F-150 SLX |
Posted By: HuronSailor
Date Posted: 20 Aug 2016 at 11:24pm
|
Me too. My mother had a glass top induction cooktop for years and it never seemed to show any damage. I'm hoping this glass will be just as tough. ------------- .: Mark & Beth :: Silverado 5.3L :: 2018 rPod 180 :. |
Posted By: furpod
Date Posted: 21 Aug 2016 at 11:21am
|
We have had a glass cook top for almost 20 years, use cast iron on it all the time, along with every other kind of cookware.. No damage yet. I picked up one of these at the factory this week.. apparently kitchen in the slide models are a problem making the cut out.. I think because they use a big industrial jig saw. Will know more when I pull ours apart tomorrow. ------------- |
Posted By: HuronSailor
Date Posted: 21 Aug 2016 at 11:36am
|
I can see where that might be a problem because making those turns with a jigsaw on the wall side of the cutout would be just about impossible unless unless the head pivoted. ------------- .: Mark & Beth :: Silverado 5.3L :: 2018 rPod 180 :. |
Posted By: furpod
Date Posted: 21 Aug 2016 at 8:54pm
Planning on using a dremel with a spiral cutting bit for that area... ------------- |