Bunk Removal on 176
Printed From: R-pod Owners Forum
Category: R-pod Discussion Forums
Forum Name: Podmods, Maintenance, Tips and Tricks
Forum Discription: Ask maintenance questions, share your podmods (modifications) and helpful tips
URL: http://www.rpod-owners.com/forum_posts.asp?TID=3909
Printed Date: 02 Aug 2025 at 6:14pm
Software Version: Web Wiz Forums 9.64 - http://www.webwizforums.com
Topic: Bunk Removal on 176
Posted By: podgirl
Subject: Bunk Removal on 176
Date Posted: 29 Aug 2013 at 10:53pm
|
Has anyone removed the top bunk in the 2012 R Pod 176? There is not enough head room on the bottom bunk and was wondering what else might be done. Thanks ------------- Sally |
Replies:
Posted By: techntrek
Date Posted: 30 Aug 2013 at 8:41am
|
Welcome. Since I have the 171 I can't answer your question but many others here can. ------------- Doug ~ '10 171 (2009-2015) ~ 2008 Salem ~ http://www.rpod-owners.com/forum_posts.asp?TID=1723 - Pod instruction manual 
|
Posted By: furpod
Date Posted: 30 Aug 2013 at 9:24am
|
Should be no problem. Tank's Mom (my sister from another mother LOL) was looking at a used 176, and I went with her to decide what we could do to make it work for her. I didn't think removing the top bunk, and entertainment center shelving etc. would be to big of a deal. She decided on a '14 177, picks it up Wednesday.. :) She already has a long mod list..  Her TV is in our drive right now to get it's brake controller installed.. Her TV is in our drive right now to get it's brake controller installed..------------- |
Posted By: Ks.Kev
Date Posted: 30 Aug 2013 at 7:22pm
I have a R-POD 176 and DID remove 1/2 of the top bunk! I left the part of the top bunk right behind the entertainment center shelving for storage of bedding or for whatever you might need extra storage for! It does help getting in and out of that bottom bunk AND gives a good spot for sitting as well! As for taking it out..... real easy! Just pry up the piece (sheet) of wood on top of the bunk and you will see the framing and the screws that go into the walls and all you have to is remove the screws and take out the top bunk! It might make it easier to cut it in 1/2 to remove it since you don't have a lot of room to get it out whole. I'll try and get some pictures of mine so you can see what I did! Hope this helps! ------------- Kevin & Donna 2010 R-Pod 176 2011 Ford F150 Lariat Supercrew |
Posted By: podgirl
Date Posted: 31 Aug 2013 at 1:24am
Oh thank you Kevin. That even sounds like it's possible to reinstall if needed for resell. It would nice if it were in two parts that folded up. Thanks again and will look forward to the pictures.
 ------------- Sally |
Posted By: JACKPOD
Date Posted: 31 Aug 2013 at 6:31pm
|
We bought our 176 used in November last year. We knew then that we couldn't both sleep on the dinette bed - he's too tall and has to angle in the bed. So I took the bottom bunk. As I'm not too young and have back issues, it was kind of hard to fold myself in the bunk. So hubby did a large cut out of the top bunk - leaving enough space on the back wall and outside wall for shelf space. He then added about a 7" edge around the cut-out to keep the stuff in as well as an L bracket on the outside edge to give it more support. We're on our way home now after more than a month on the road and it's worked out great. We also added a wire shelf above the bunk shelf on the outside wall so I can't complain too much about storage. Then he made a shelf with legs that fits over the storage containers on the top bunk behind the entertainment center that I use for food storage in a container. Of course everything will fall off that shelf when moving, so I anchor it with a dinette cushion stuffed in. Lastly, we added a battery operated led light on the wall above where my head is so I have good reading light. It's all made life easier in our Jackpod. ------------- Pam and Jack Abby the Bichon RP 176 towed with 2013 Nissan Pathfinder |
Posted By: wallawallaron
Date Posted: 31 Aug 2013 at 7:56pm
|
------------- WallaWallaron,2012 RP177 H.R.E.,2010 F-150.NRA Life Member 9/11 Never Forget |
Posted By: podgirl
Date Posted: 01 Sep 2013 at 11:36pm
Thanks for the information. I do believe that making changes in that area will definitely make the pod better.  ------------- Sally |
Posted By: Ks.Kev
Date Posted: 03 Sep 2013 at 5:42pm
|
Pod girl,
Sorry it took me a little while, but here is a few pictures of what I did to the top bunk...... 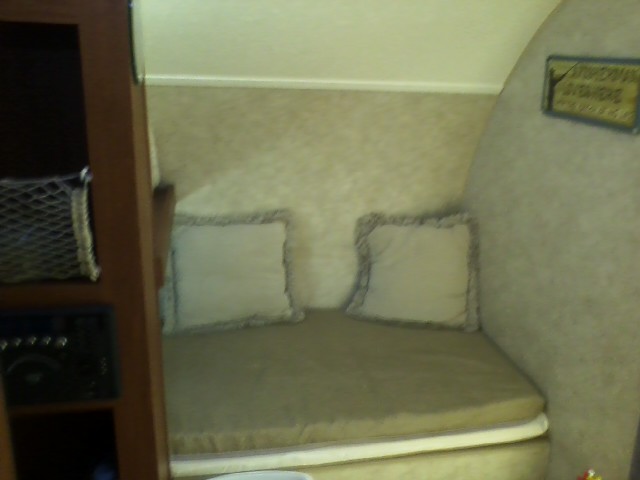 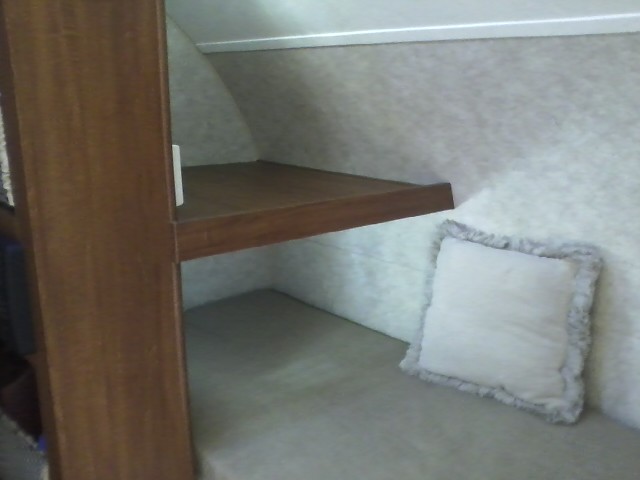 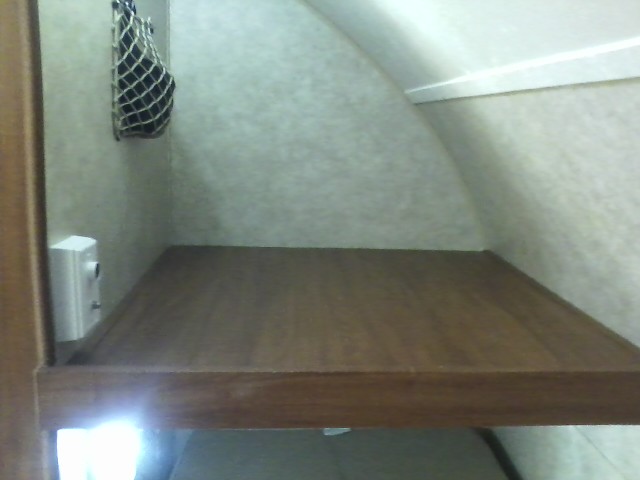
Then I also added a 12 volt with a tv/cable plug in (that's the white box on the left) of the "use to be top bunk" which I tapped into the TV hook up / amplifier on the other side of that wall in the entertainment center. works good to set the small t.v. or DVD player on that shelf while in the bottom bunk. Doing this Mod also allows for another place to sit. Hope this helps in giving you some ideas! ------------- Kevin & Donna 2010 R-Pod 176 2011 Ford F150 Lariat Supercrew |
Posted By: podgirl
Date Posted: 03 Sep 2013 at 6:04pm
Wow!! It looks so much larger. Did you cover the remainder of bunk with a laminate or did you stain it? Also, did you use part of the trim for the side or add another piece? This really helps. Thanks so much for the pictures!  ------------- Sally |
Posted By: podgirl
Date Posted: 03 Sep 2013 at 6:15pm
|
Hello Pam,
If you get I chance I would love to see pictures of this mod. Also, check out Kevin's pictures on this same mod. Thanks. ------------- Sally |
Posted By: Pod-a-terre
Date Posted: 03 Sep 2013 at 6:43pm
|
Jackpod: Any pictures of your mod? ------------- John Kris "Lady Sarah" our Golden Aiken SC |
Posted By: Ks.Kev
Date Posted: 03 Sep 2013 at 7:13pm
I just used the piece of trim that was on the front of the top bunk as the cap on the end of the "cut down" part. The rest that you see is/was the original part of the bunk. Didn't have to stain anything! ------------- Kevin & Donna 2010 R-Pod 176 2011 Ford F150 Lariat Supercrew |