
|
ouR escaPOD mods |
Post Reply 
|
Page <1 565758 |
| Author |
 Printable Version Printable Version Google Google Delicious Delicious Digg Digg StumbleUpon StumbleUpon Windows Live Windows Live Yahoo Bookmarks Yahoo Bookmarks reddit reddit Facebook Facebook MySpace MySpace Newsvine Newsvine Furl Furl Topic Search Topic Search  Topic Options Topic Options
|
StephenH 
podders Helping podders - pHp 

Joined: 29 Nov 2015 Location: Wake Forest, NC Online Status: Offline Posts: 6431 |
 Post Options Post Options
 Quote Reply Quote Reply
 Topic: ouR escaPOD mods Topic: ouR escaPOD modsPosted: 08 Apr 2016 at 10:16am |
Yes. It does. One last step I did when done was to take some insulating foam and apply it along the end of the platform which is at the front of the R-Pod. After putting the handle on that side, I realized that the insulation would get in the way of opening that up to get to the fresh water pump. I can open it if needed, but as long as I can do what I need to without opening it, I will do so. |
|
|
StephenH
Happy is the man that findeth wisdom,... ouR escaPOD mods Former RPod 179 Current Cherokee Grey Wolf 24 JS |
|
 |
|
|
StephenH
podders Helping podders - pHp
Joined: 29 Nov 2015 Location: Wake Forest, NC Online Status: Offline Posts: 6431 |
Post Options
Quote Reply
Posted: 08 Apr 2016 at 10:12am |
|
While I had the bed platform apart for the above modifications, I thought that there was a lot of wasted space. The framework for the bed was obviously the same as what would be used if there were a dinette in that space. However, what was useful for a dinette meant that there was wasted space when it is used for a bed. Because the furnace is also located there, the whole space is unusable when the furnace is running.
I thought, why not divide the space and make a compartment? That would at least give me some usable space which would not be overheated by the furnace. In addition, there was space on the wardrobe side which was not usable due to wiring being run in that area. However, there was also the potential to add storage there also. 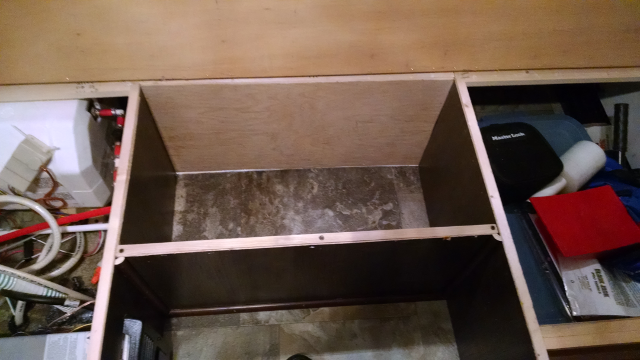 I removed the panel at the back as carefully as I could as I wanted to reuse it. It was glued as well as stapled, so it did splinter a little. I replaced the panel with plywood and used stock to build a framework onto which I remounted the original panel. To finish, I got some quarter-round molding which did not quite match the finish, but which was not going to be easily seen anyway, so the color difference is not noticed. I now have usable space where there was none. The furnace still operates properly as I made sure there was clearance for air circulation. Speaking of that, I adjusted the position of the furnace as the person who installed it had it slid in too far, which meant that the cover was not in the best position. The installer had drilled extra holes instead of using the factory holes to fasten it. It now uses the factory mounting holes and the cover fits better. I am sure it also works more efficiently when installed as designed. The other space had wiring. I constructed both a frame for the end and a frame for a new floor which covered the wiring. The wiring could have been routed differently, which would have made this usable from the factory, but it wasn't. I now have a small compartment here also. 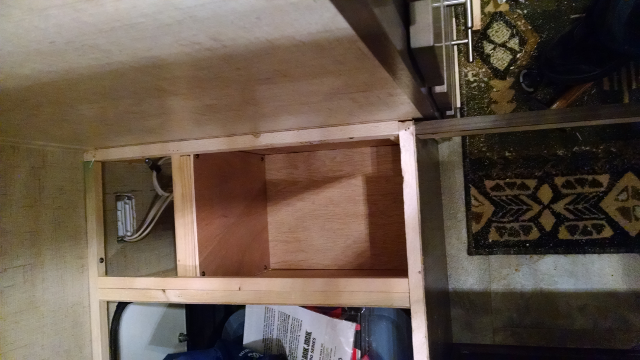 While I was at it, there was the dinette. The right side had a storage compartment already. However, the cover on the left side was screwed down. When I remove the screw to see why, I saw plumbing and wires. However, I also though there was some space that could be used here also. I boxed in the plumbing and wires and made a usable space large enough to hold my towing mirrors and some other small items. 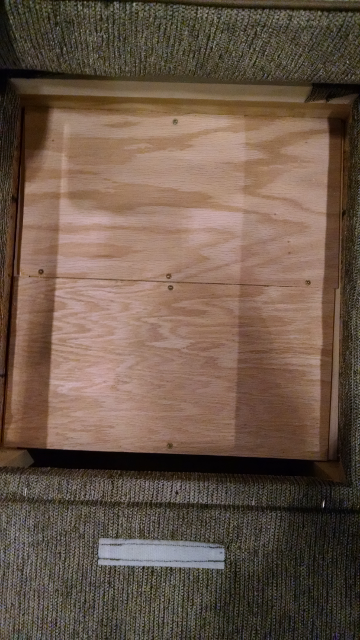 The plywood covers can be easily removed to provide access to the plumbing and wiring. |
|
|
StephenH
Happy is the man that findeth wisdom,... ouR escaPOD mods Former RPod 179 Current Cherokee Grey Wolf 24 JS |
|
|
|
|
Retroactive
Senior Member

Joined: 15 Mar 2016 Location: Bolton, MA Online Status: Offline Posts: 270 |
Post Options
Quote Reply
Posted: 08 Apr 2016 at 9:52am |
|
So the foam insulation sits in between the joists shown in the first pic? Putting insulation in that area is a really good idea, in my 171 the bed compartment takes a lot longer to heat up.
|
|
|
|
|
StephenH
podders Helping podders - pHp
Joined: 29 Nov 2015 Location: Wake Forest, NC Online Status: Offline Posts: 6431 |
Post Options
Quote Reply
Posted: 08 Apr 2016 at 9:47am |
|
Time for the next mod.
On our first major trip, we stayed at the Desert Eagle RV park on Nellis AFB in Nevada. There was an RV owner selling a collapsible ladder. It was a good price so we bought it. That led to the question of how to store it. We put up with it being in the way until we got home. That gave me time to think about how to do this modification. First step was to get a 5x5" post section from Lowe's Home Improvement. That was big enough to hold the collapsed ladder. The problem was the length. Since the R-Pod 179 does not have a full-width storage compartment, there was no way for the ladder to fit--or was there? 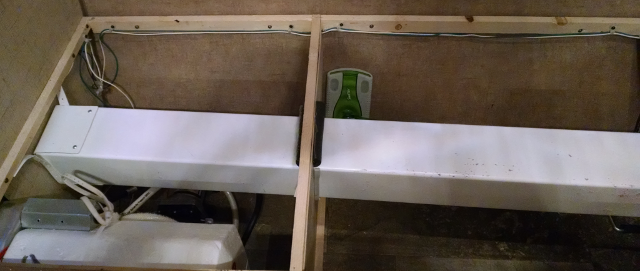 The answer was to make a hole through the partition so the tube could be installed full width. This one shows how I capped off the one end so that the ladder would not shift and hit the inside wall. I took a section from the excess length and cut it, then used a heat gun to heat it so I could bend it around the end. Finally, I attached it with screws. I used plastic strapping material to hang the tube as close to the top as I could get it so I could still use the space underneath for storage. 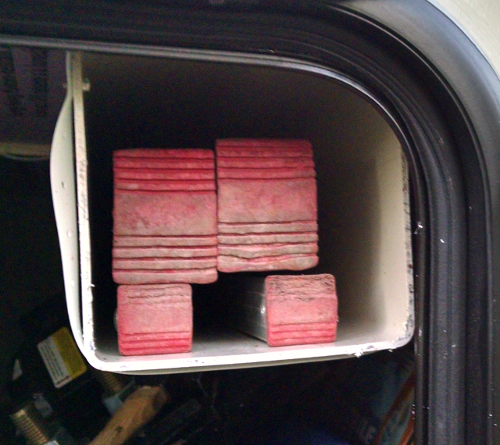 This shot is from before I fabricated a cover for the hatch end. The ladder rides quite well there. I can now get to the top of the slide-out to make sure it is clean before retracting it. While I had things apart, I also made this modification: 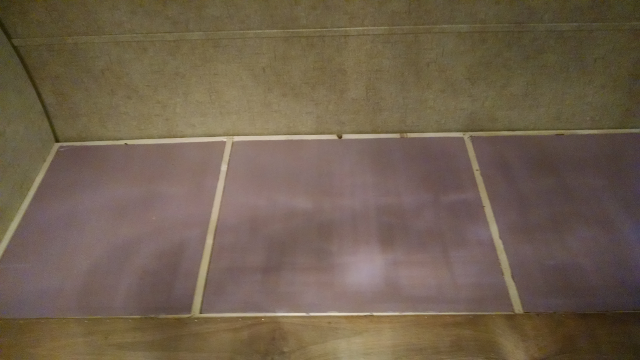 The insulation is 1" foam, which I found at the local Home Depot. It is simply cut to shape, slightly large and pushed into place. It fits tightly enough by friction to stay there. We had the opportunity to test it last weekend. I did notice a difference from when it was just the plywood. Well, to finish the job, I hinged the two platform boards. The back one is screwed down, but the front one got a finishing touch on the edge to keep me from getting more splinters. It lifts up to access the next modifications. 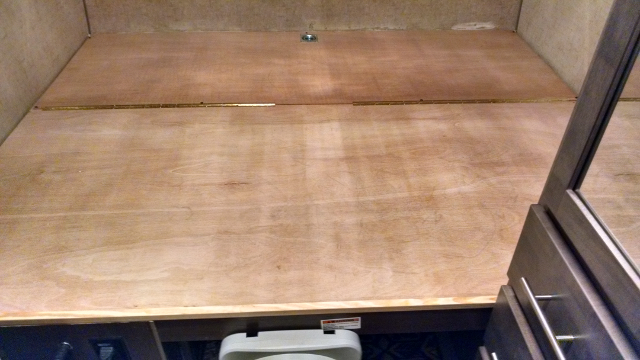 |
|
|
StephenH
Happy is the man that findeth wisdom,... ouR escaPOD mods Former RPod 179 Current Cherokee Grey Wolf 24 JS |
|
|
|
|
jato
Senior Member

Joined: 23 Feb 2012 Location: Kewadin, MI Online Status: Offline Posts: 3349 |
Post Options
Quote Reply
Posted: 08 Apr 2016 at 6:30am |
|
Very nice, you may find yourself being hired by FR on a consultation basis.
|
|
|
God's pod
'11 model 177 '17 Ford F-150 4WD 3.5 Ecoboost Jim and Diane by beautiful Torch Lake "...and you will know the Truth and the Truth will set you free." |
|
|
|
|
StephenH
podders Helping podders - pHp
Joined: 29 Nov 2015 Location: Wake Forest, NC Online Status: Offline Posts: 6431 |
Post Options
Quote Reply
Posted: 07 Apr 2016 at 10:15pm |
|
Rather than post my mods all over the place, I decided to start a topic so I could list all my mods. I think it will be easier to keep track of which ones I posted this way.
 We purchased our R-Pod 179 in December. One of the first modifications I did was to install a shelf above the queen bed. Since I use a CPAP (Continuous Positive Air Pressure) machine for sleep apnea, I needed a place to put the machine. Since we were going to be dry camping for a good part of the trip, I also wanted to be able to run it on 12 Volt power, which meant that I also needed to install a 12 Volt outlet. These are some pictures of those modifications.   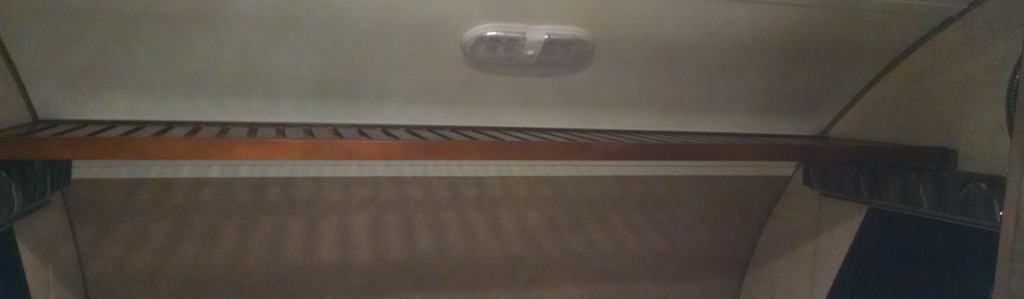 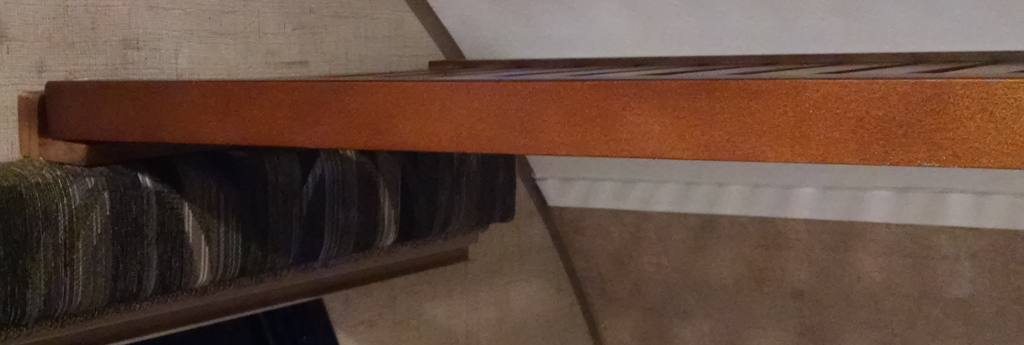 What does not show are the "L" brackets, one leg of which slips down behind the valence. They are held in place with Command strips. That is probably not needed as the shelf itself helps keep them in place also. Also, there is bolt going up through the bottom of the brackets and a hole in the front end of each shelf that slips over that bolt. This keep the shelf from shifting while we are on the road. Now for the 12 Volt outlet: 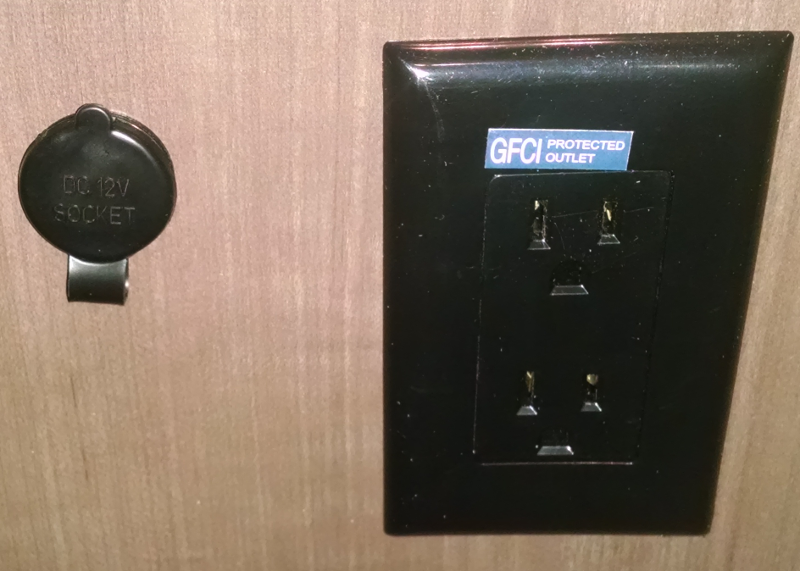 This is version one. Stay tuned for version two. |
|
|
StephenH
Happy is the man that findeth wisdom,... ouR escaPOD mods Former RPod 179 Current Cherokee Grey Wolf 24 JS |
|
|
|
|
Post Reply
|
Page <1 565758 |
| Forum Jump | Forum Permissions You cannot post new topics in this forum You cannot reply to topics in this forum You cannot delete your posts in this forum You cannot edit your posts in this forum You cannot create polls in this forum You cannot vote in polls in this forum |


