
|
|
Post Reply 
|
Page <12 |
| Author |
 Printable Version Printable Version Google Google Delicious Delicious Digg Digg StumbleUpon StumbleUpon Windows Live Windows Live Yahoo Bookmarks Yahoo Bookmarks reddit reddit Facebook Facebook MySpace MySpace Newsvine Newsvine Furl Furl Topic Search Topic Search  Topic Options Topic Options
|
JandL 
Senior Member 

Joined: 29 Mar 2014 Location: California Online Status: Offline Posts: 364 |
 Topic: Brake Replacement Topic: Brake ReplacementPosted: 31 Oct 2015 at 4:54pm |
|
I replaced my brakes this weekend and it turned out to be easier than I thought it would be. I was just going to replace the shoes, magnet and turn the drums but it turned out to be cheaper to replace the brakes as a complete assembly and buy new brake drums. At a local machine shop the charge for turning the drum was $17 and to turn the face where the magnet rubs was $54. I have a Lippert axle so I used Lippert parts. If I had the Dexter axle it would have been a lot cheaper. Lippert Components (#296650) 10" x 2.25" Right-Hand Electric Brake Assembly was $69 and Lippert Components (#296649) 10'' x 2.25" Left-Hand Electric Brake Assembly was $72, I purchased these from Amazon. The drums I got from Trailer Parts Superstore, Lippert Components (#122460) 10" x 2-1/4" Brake Drum & Hub, 5 studs on 4.5” bolt circle, [Includes wheel bearings 1-1/16" (L44649) x 1-3/8" (L68149), and grease seal (I.D. = 1.719"). Drums are pre-greased]. With shipping the drums were $81 each, they weigh 20.5 pounds each. I had to buy a new set of lip seals [Lippert Components #333960 double lip grease seals] because the drums came pre-greased and it was not the grease I use. There was nothing wrong with the grease they came with. They grease I like is Valvoline #W615 Multi-Purpose Grease /GM. I like this grease because it exceeds the Lippert requirements, everybody sells it and it’s an opaque red color. Each year when I pull off the drums to inspect the brakes I can see if the grease is dirty by how much of the red color has changed. Before removing the brake assembly you have to remove the closed end crimp wire connector. I do not recommend this connector for exterior crimps; they work great for use inside the trailer. I crimped the wires to the magnet with a Nylon-insulated, double crimp, step down, 12-10/22-18 butt splice with window, AMP (#327639). I used an Ideal Ind (#30-500) Ratchet Crimp Tool for 22-10 Ga. They are other very good manufactures of ratcheting crimp tools for the Red, Blue and Yellow insulated terminals. I have seen the Ideal crimper sell for from $60-$80. I also use an Ideal Ind. 45-091, ($36), Stripmaster Wire Stripper, #10 to #18 AWG. The butt splices were then insulated with adhesive lined heat shrink tubing; make sure you slide the tubing over before crimping the wires together. You could also crimp them with Molex Perma-Seal terminals, they make a step down butt splice with adhesive lined heat shrink on it and it but takes a special crimp tool Molex (#64016-0041) $56 from Waytek Wire. If you use the wrong crimper you will damage the heat shrink tubing. The new assembly bolts right up. You the slide the drum/hub on and install the new outer bearings and cotter pin and you’re done. I used the ezlube fitting to finish the job. I put a few pumps of grease in and then spun the drum and them added a few more pumps of grease till it just start to ooze out past the castle nut. Remounted the wheel and torqued the lug nuts. On the Pod instruction page, under “Axle bearing maintenance” Podster has put together very detailed information about servicing the bearing “My 2015 178 Initial Bearing Service”, this provides a lot more detail information.
What it looks like at the start New lip seals 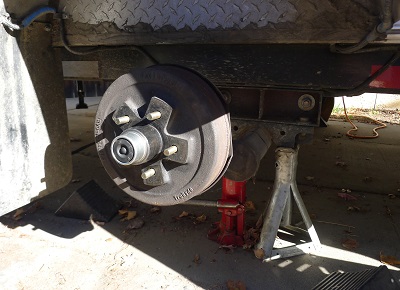  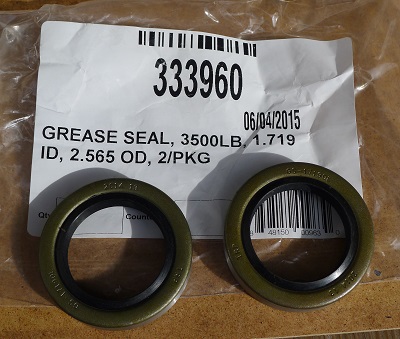
Valvoline grease new brake assembly closed end crimp connectors 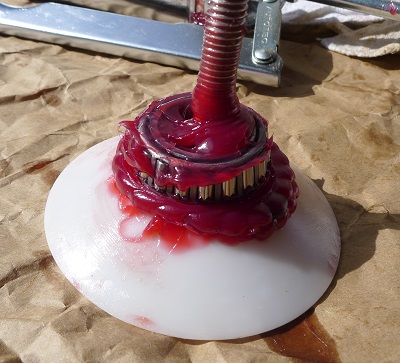 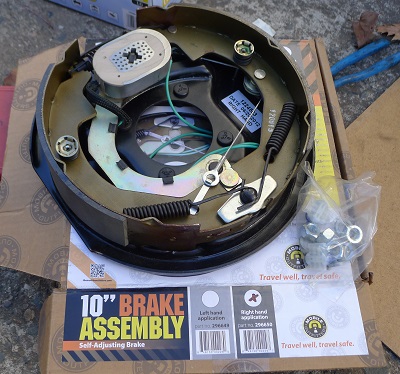 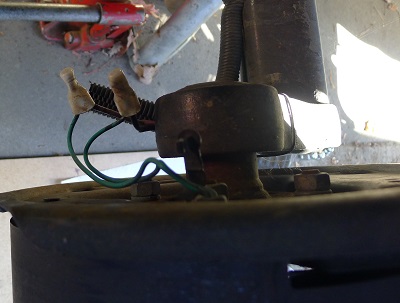
step down butt splice 18-22 end step down butt splice 12-10 end 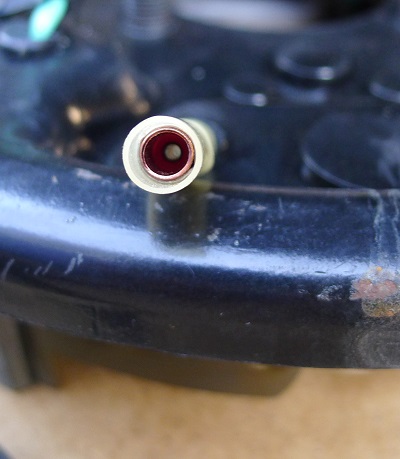 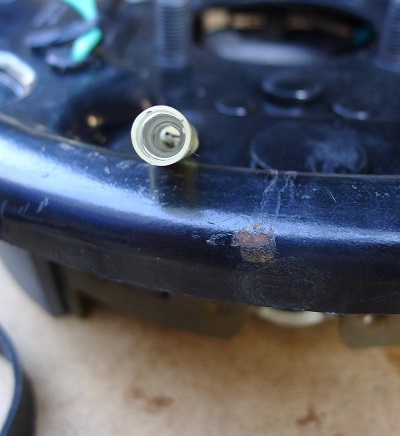
heat shrink installed proper crimp the right tools for the job  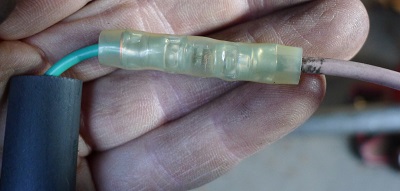 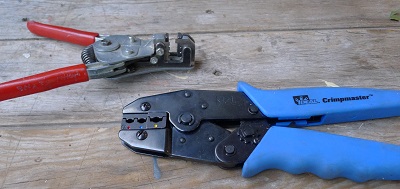
shrinking tubing to seal connectors new brakes EZlube hub 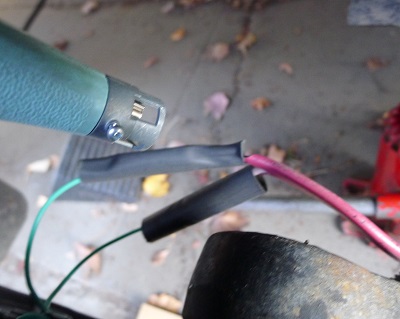 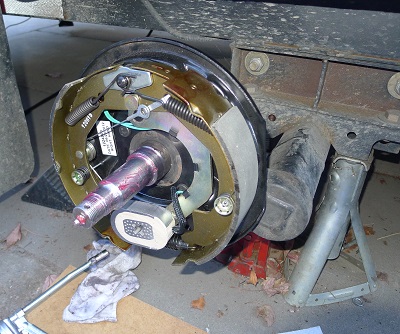 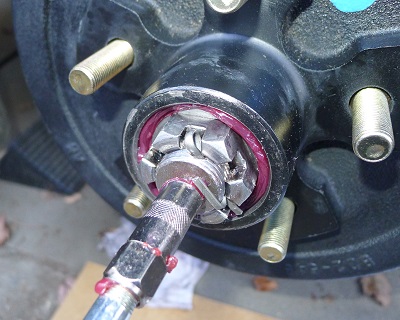
What it looks like finished torqueing lug nuts 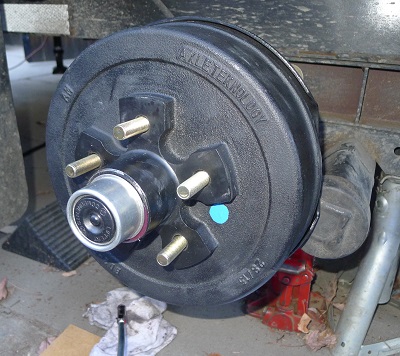 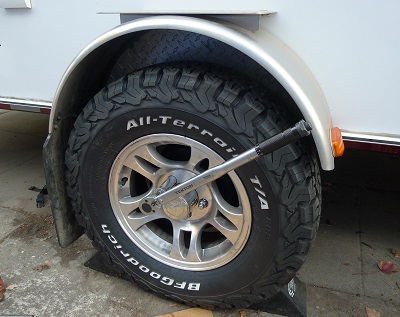
|
|
|
JandL
2013 Honda Ridgeline 2012 177 2 Paynes in a Pod |
|
 |
|
|
Post Reply
|
Page <12 |
| Forum Jump | Forum Permissions You cannot post new topics in this forum You cannot reply to topics in this forum You cannot delete your posts in this forum You cannot edit your posts in this forum You cannot create polls in this forum You cannot vote in polls in this forum |


 Brake Replacement